23 lessons in 5 chapters · about 46 minutes
The course
From the Studio's four tabs to a cutting pattern printed true to scale. Take the lessons in order, or go straight to the one you need.
0 of lessons done
Start the course
Chapter 1
Getting started
The Studio's tabs and tools, your first panel, and where your patterns are kept.
4 lessons · 8 min · 0 done
-
01
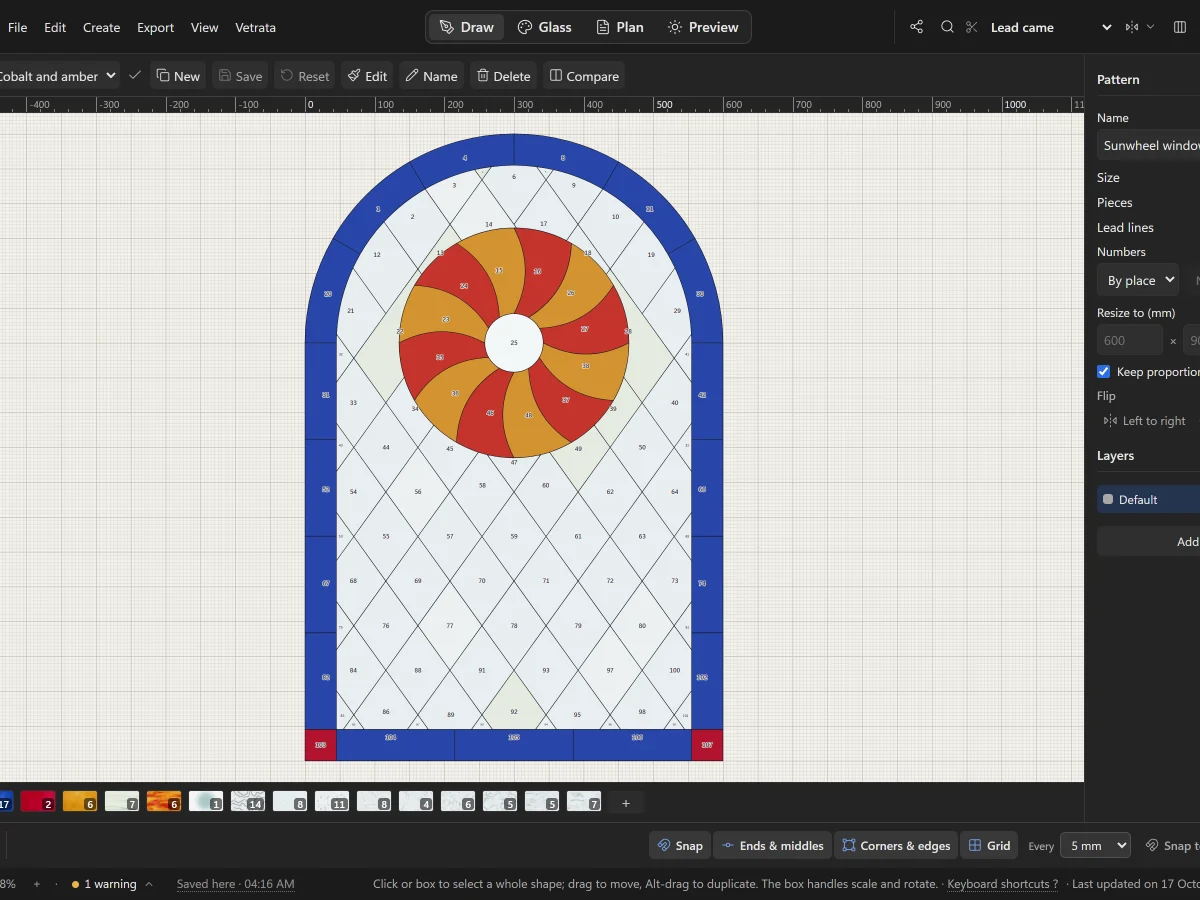 A tour of VETRATA StudioThe four tabs, the menus, the tools and the bars around the drawing: where everything lives.
5 steps · 2 min
A tour of VETRATA StudioThe four tabs, the menus, the tools and the bars around the drawing: where everything lives.
5 steps · 2 min
-
02
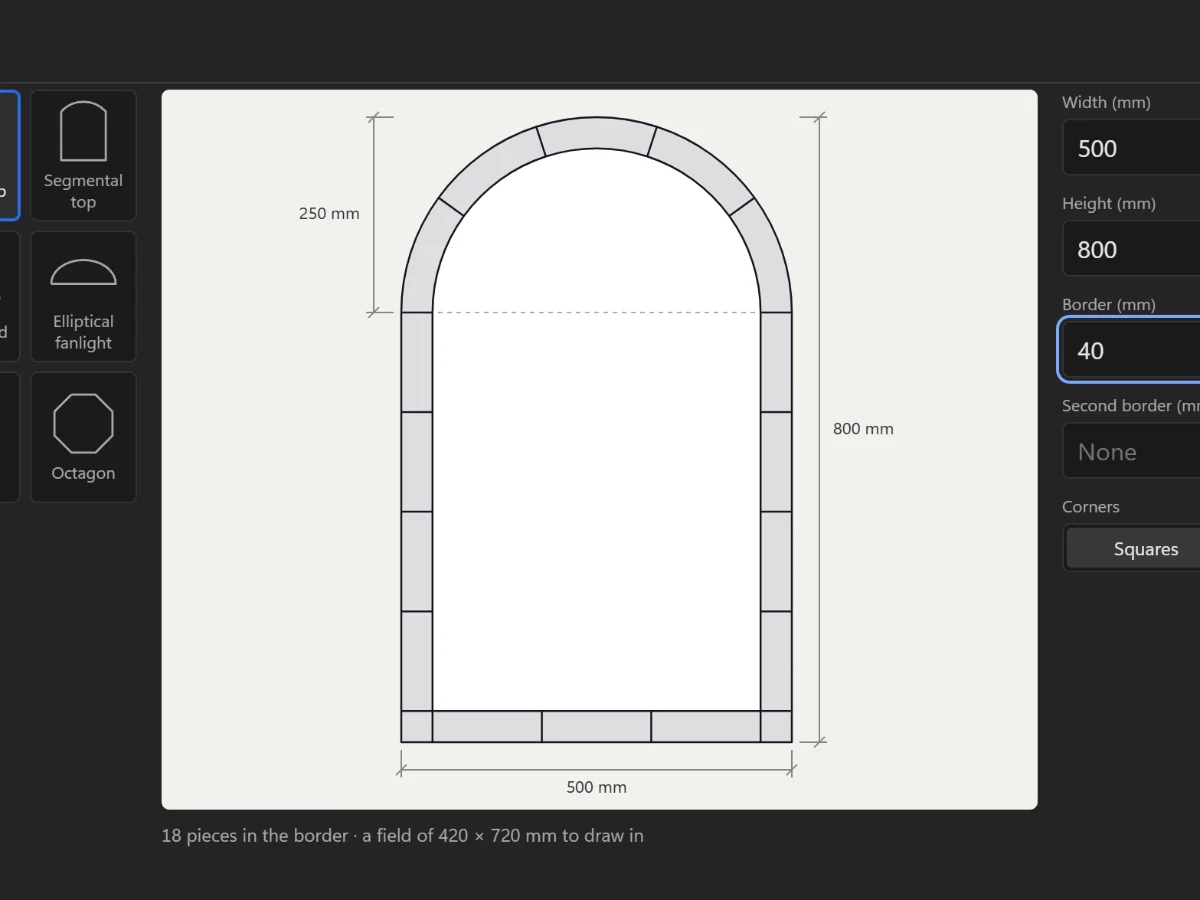 Start a new panelChoose the opening's shape and size, add a border, and set the technique you will build it in.
6 steps · 2 min
Start a new panelChoose the opening's shape and size, add a border, and set the technique you will build it in.
6 steps · 2 min
-
03
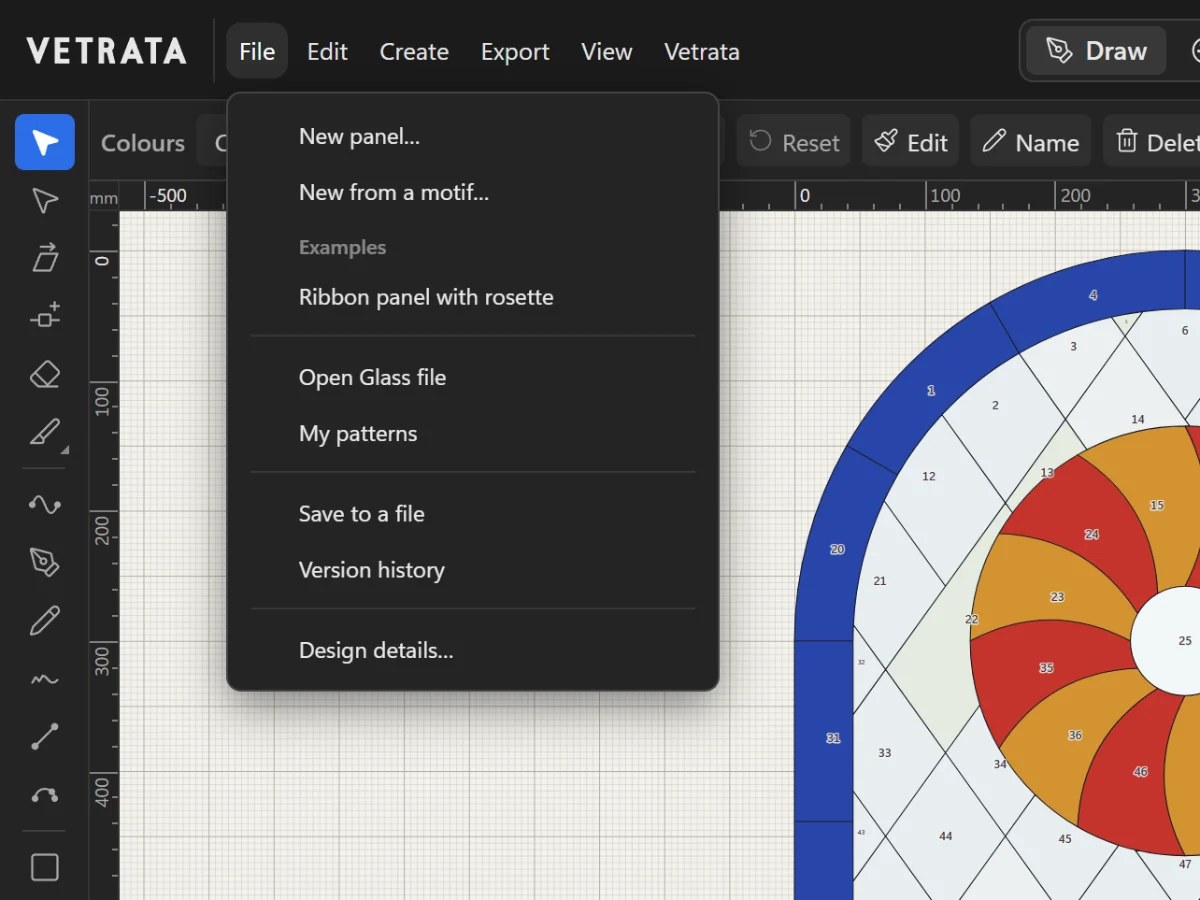 Save, open and keep your patternsWhere the Studio keeps your work, how to save a pattern file, and how to step back to an earlier version.
6 steps · 2 min
Save, open and keep your patternsWhere the Studio keeps your work, how to save a pattern file, and how to step back to an earlier version.
6 steps · 2 min
-
04
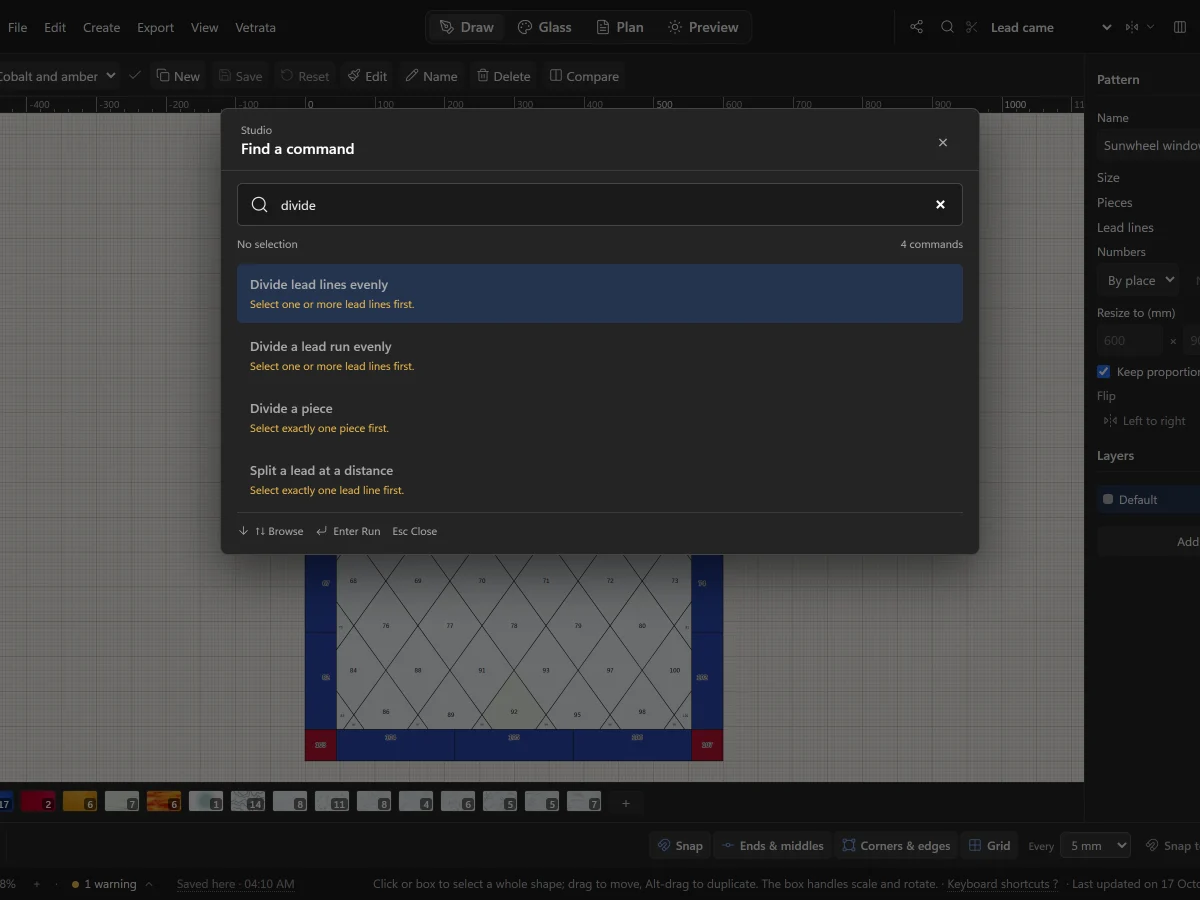 Find any command, and make the keys yoursSearch every command with Ctrl+K, and change any keyboard shortcut to the key you want.
5 steps · 2 min
Find any command, and make the keys yoursSearch every command with Ctrl+K, and change any keyboard shortcut to the key you want.
5 steps · 2 min

Chapter 2
Draw
Lead lines, shapes, the Mirror, tracing, and the checks that keep a pattern cuttable.
9 lessons · 18 min · 0 done
-
05
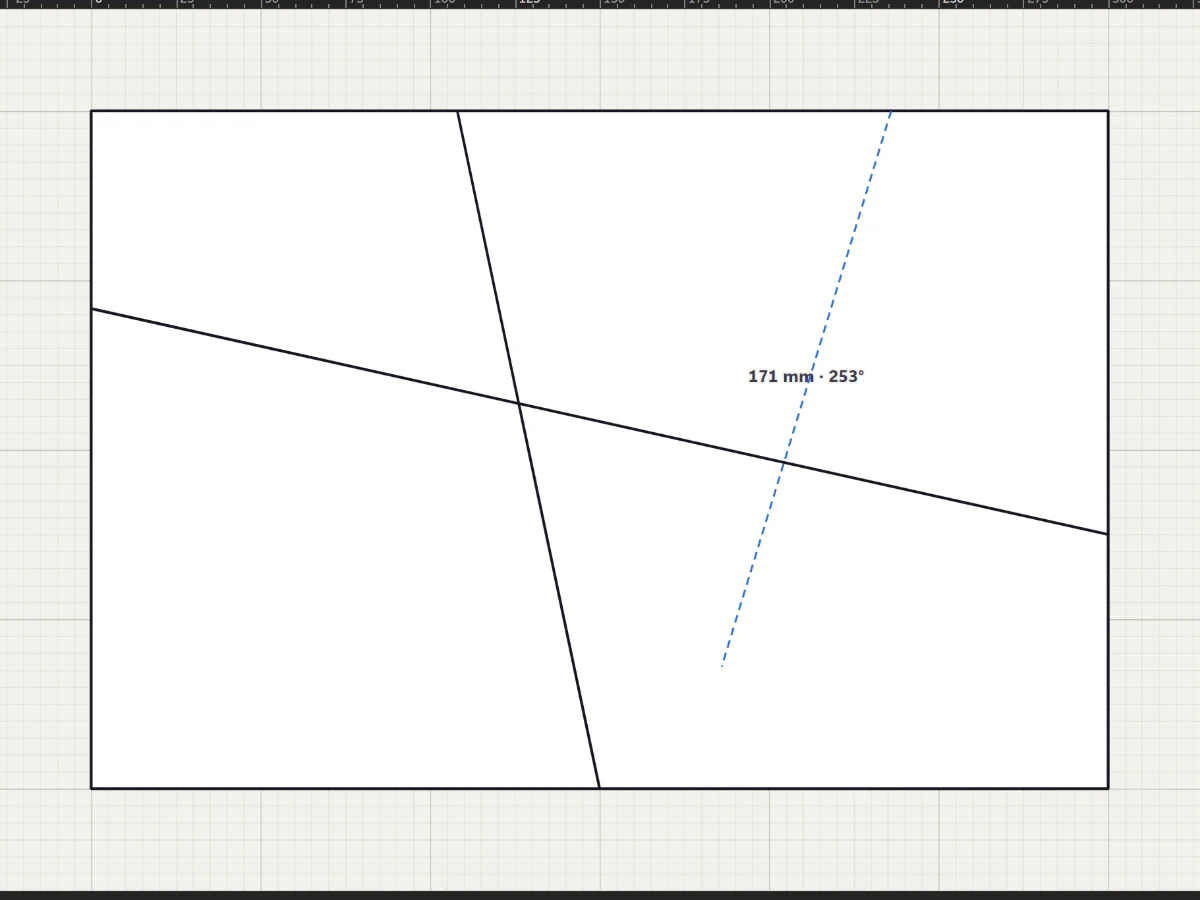 Draw lead linesStraight leads with the Line tool, curves with the Pen and Curve tools, and freehand strokes that come out clean.
5 steps · 2 minTry it
Draw lead linesStraight leads with the Line tool, curves with the Pen and Curve tools, and freehand strokes that come out clean.
5 steps · 2 minTry it
-
06
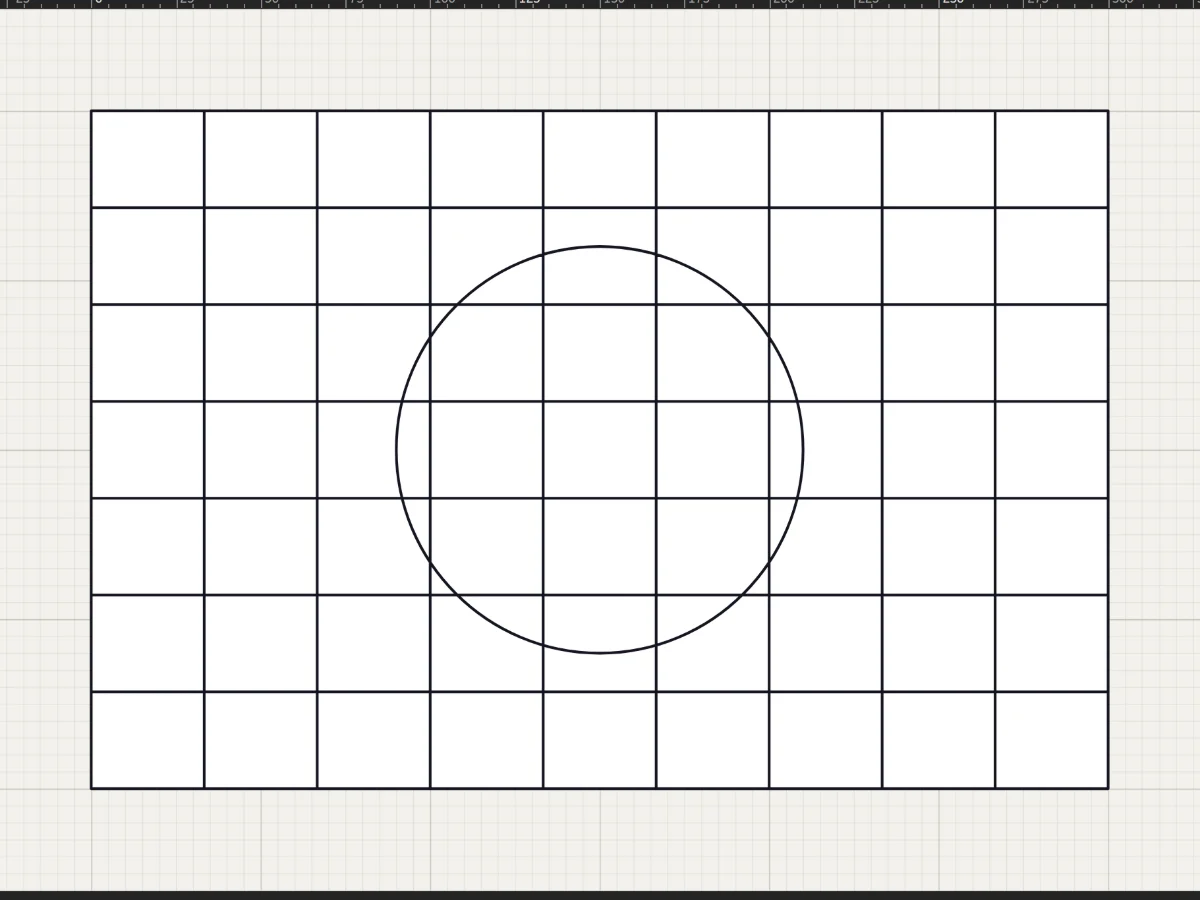 Shapes, grids and radial designsRectangles, circles, stars, rosettes and quarry grids in a few drags, each one cut into the leadwork.
5 steps · 2 minTry it
Shapes, grids and radial designsRectangles, circles, stars, rosettes and quarry grids in a few drags, each one cut into the leadwork.
5 steps · 2 minTry it
-
07
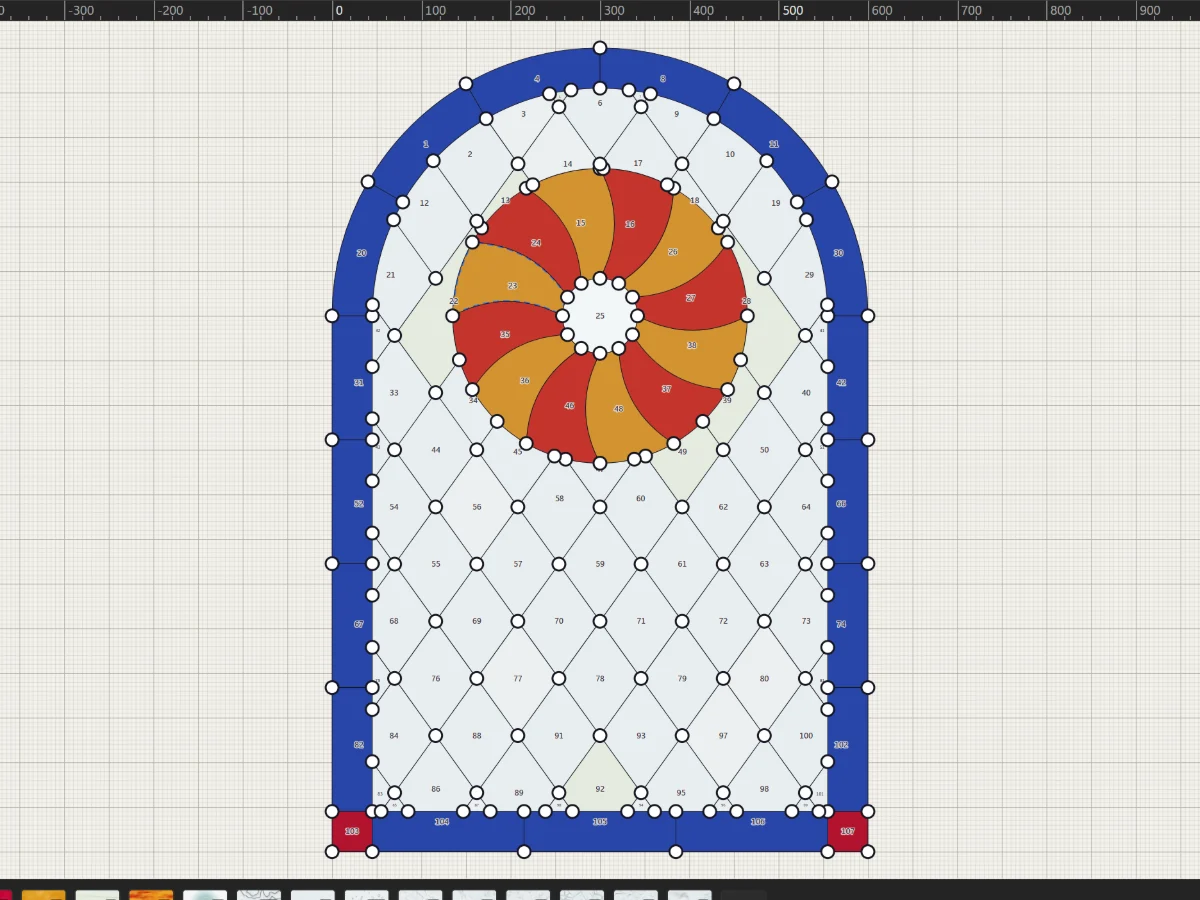 Select, move and reshapeMove whole shapes, bend leads, drag anchors and round corners with the two selection tools.
5 steps · 2 min
Select, move and reshapeMove whole shapes, bend leads, drag anchors and round corners with the two selection tools.
5 steps · 2 min
-
08
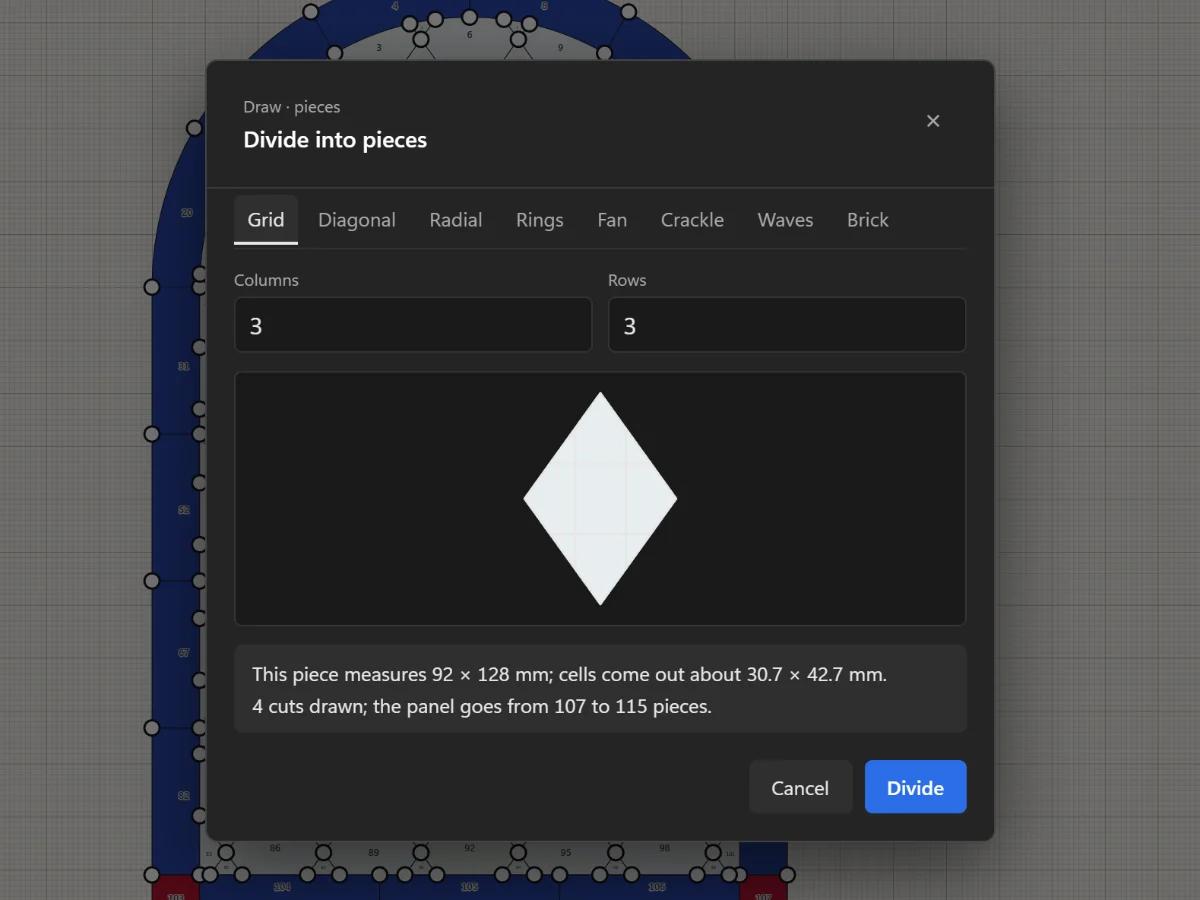 Split, cut and join piecesAdd joints, remove leads, cut with the Knife, divide a piece evenly and join pieces with the Shape Builder.
5 steps · 2 minTry it
Split, cut and join piecesAdd joints, remove leads, cut with the Knife, divide a piece evenly and join pieces with the Shape Builder.
5 steps · 2 minTry it
-
09
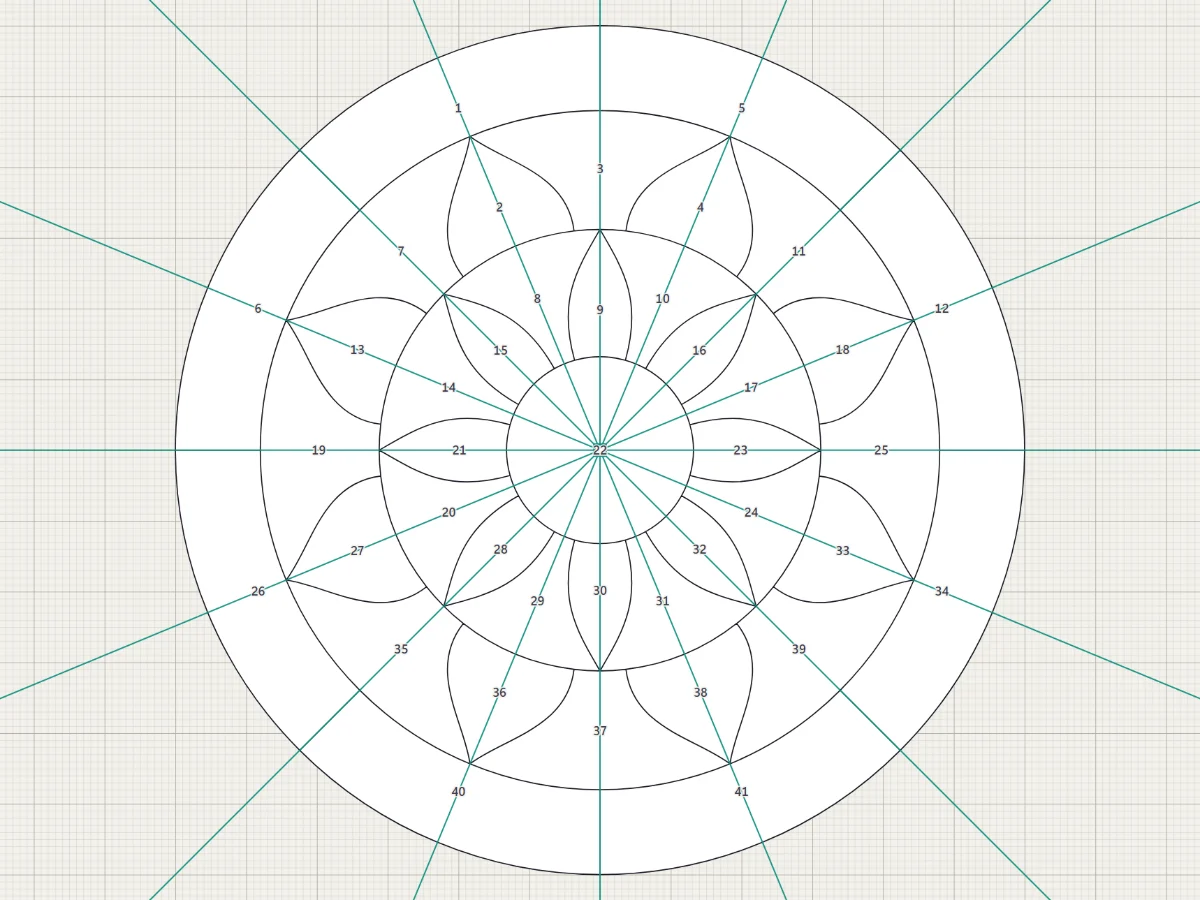 Draw it once with the MirrorMirror across a line or repeat around a centre, and see the reflected part live while you draw.
5 steps · 2 min
Draw it once with the MirrorMirror across a line or repeat around a centre, and see the reflected part live while you draw.
5 steps · 2 min
-
10
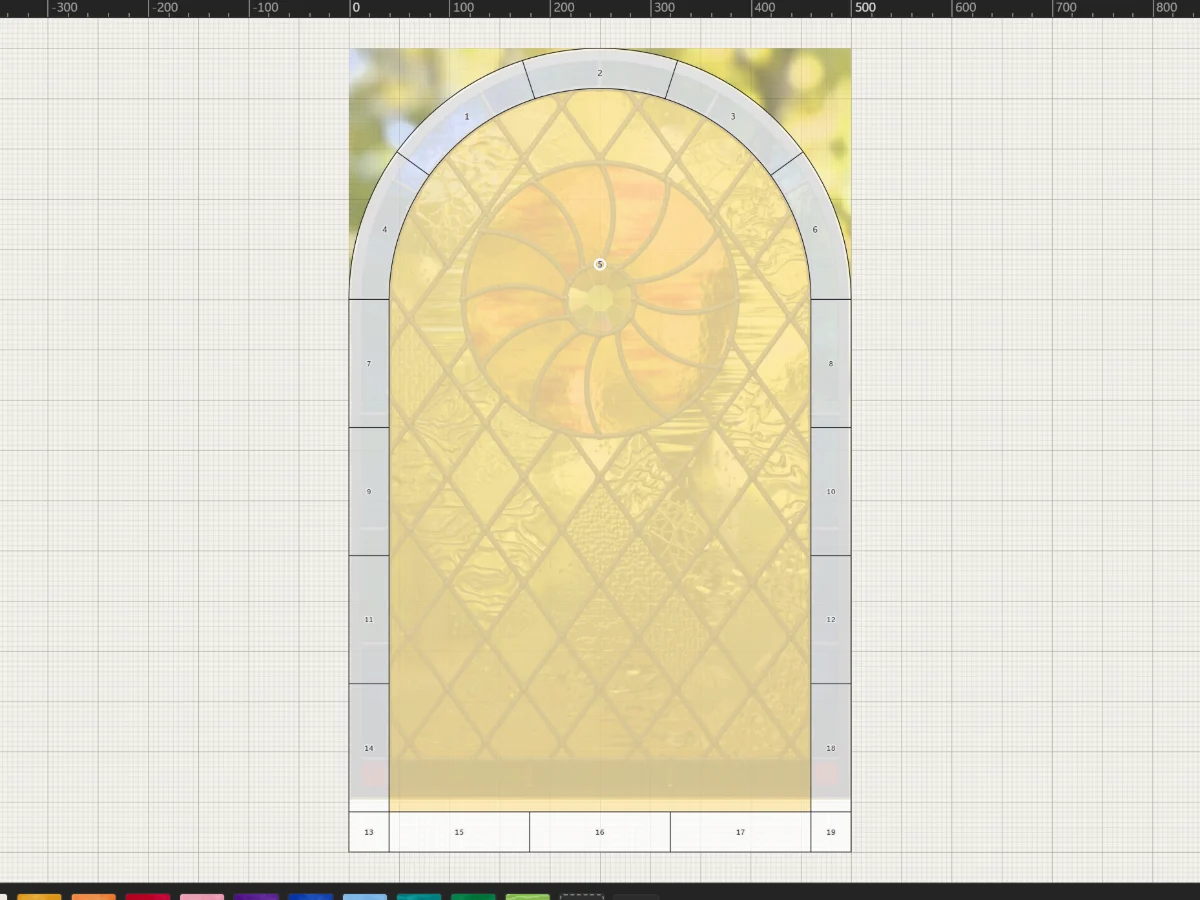 Trace a photo, sketch or scanPut a picture under the pattern at its real size, fade it, and draw your leads over it by hand.
5 steps · 2 min
Trace a photo, sketch or scanPut a picture under the pattern at its real size, fade it, and draw your leads over it by hand.
5 steps · 2 min
-
11
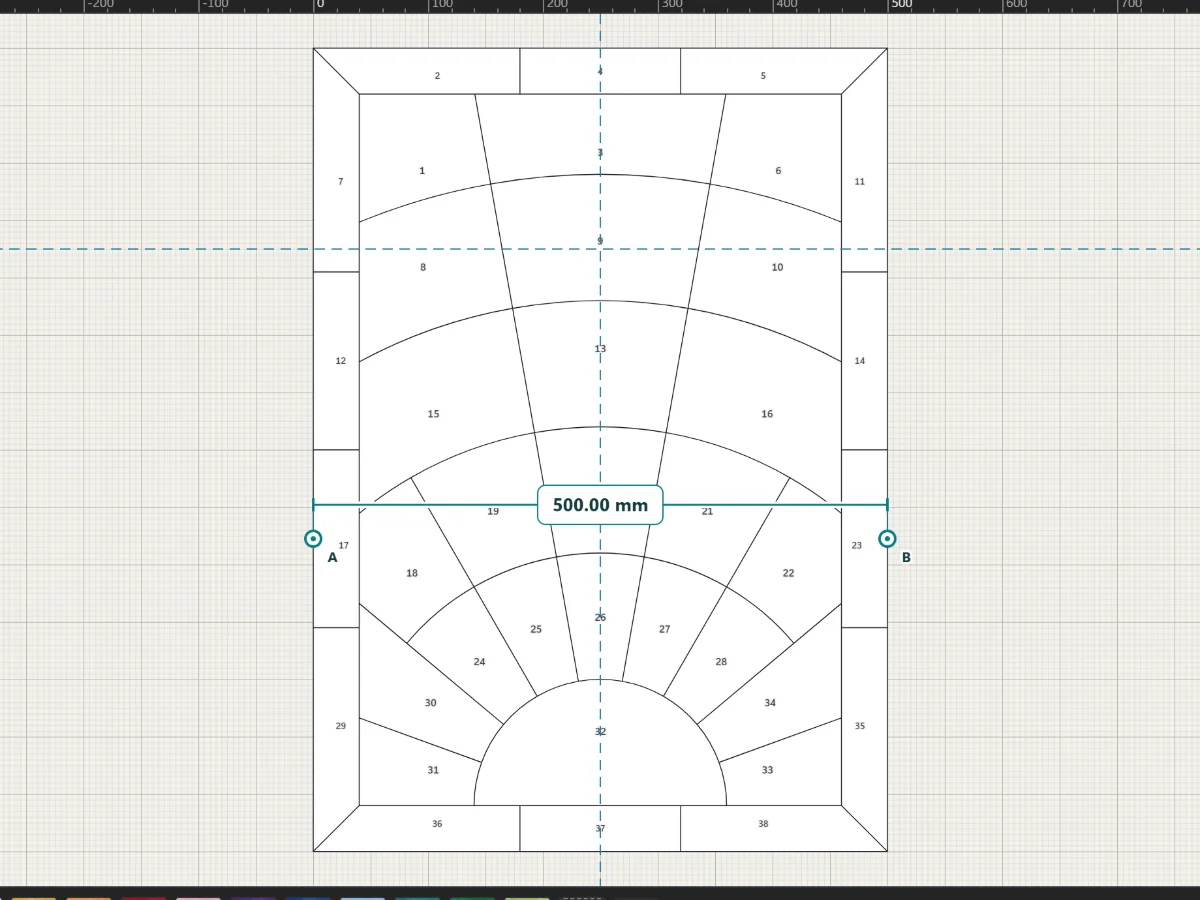 Rulers, guides, snapping and measuringDrag guides out of the rulers, snap to ends, middles and edges, and measure anything on the pattern.
4 steps · 2 min
Rulers, guides, snapping and measuringDrag guides out of the rulers, snap to ends, middles and edges, and measure anything on the pattern.
4 steps · 2 min
-
12
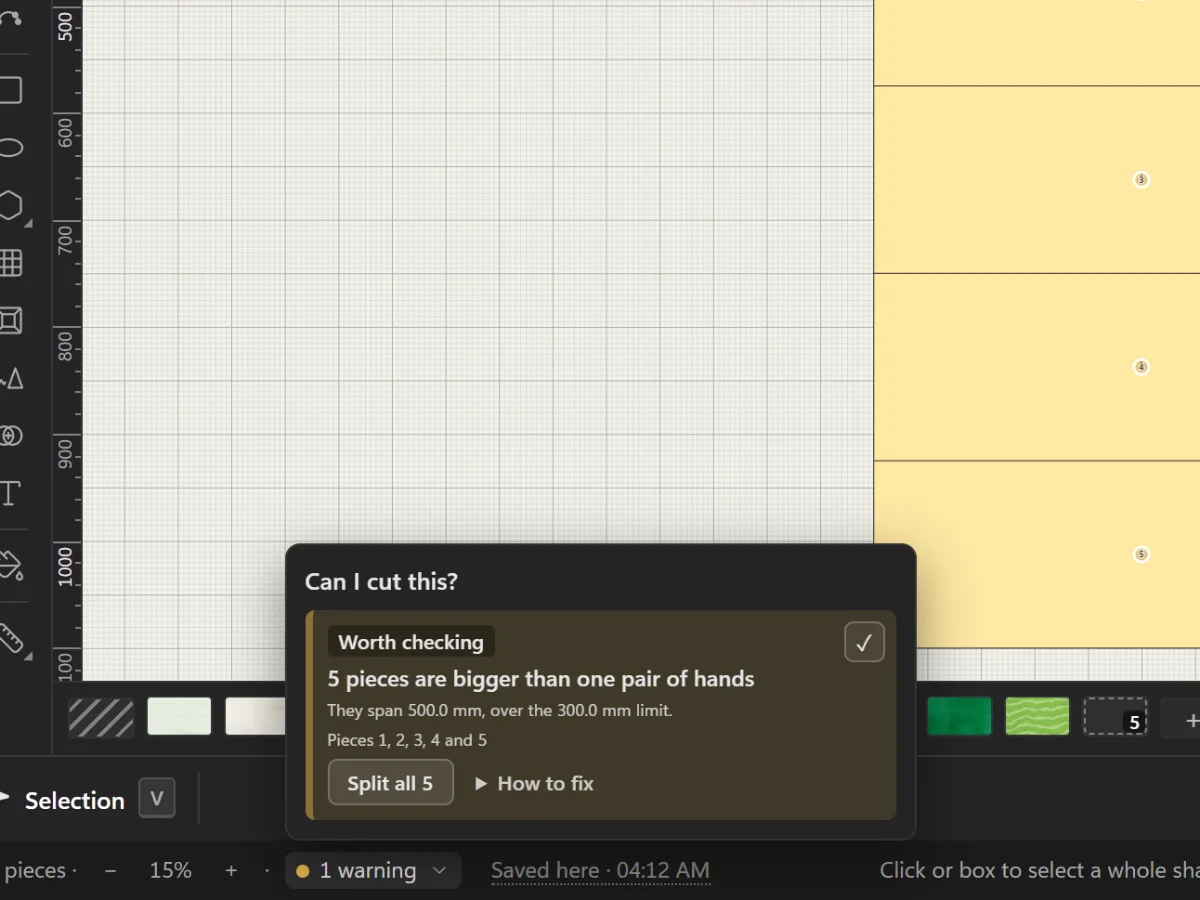 Check that the glass can be cutRead the Studio's warnings about pieces glass won't take, and fix them with the button beside each one.
4 steps · 2 minTry it
Check that the glass can be cutRead the Studio's warnings about pieces glass won't take, and fix them with the button beside each one.
4 steps · 2 minTry it
-
13
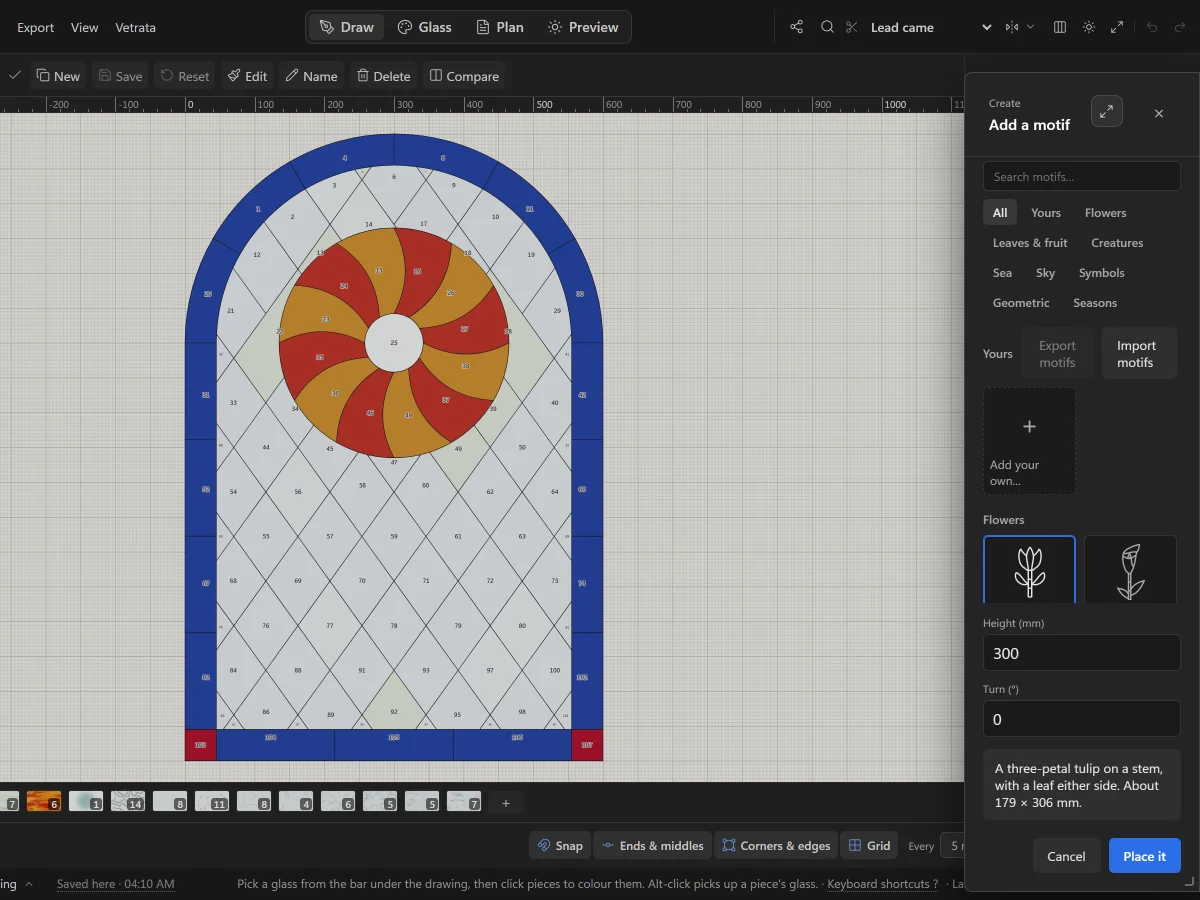 Add motifs and letteringSet a flower, a bird or a knot from the motif library into your pattern, and letter a name or a date in lead.
5 steps · 2 min
Add motifs and letteringSet a flower, a bird or a knot from the motif library into your pattern, and letter a name or a date in lead.
5 steps · 2 min
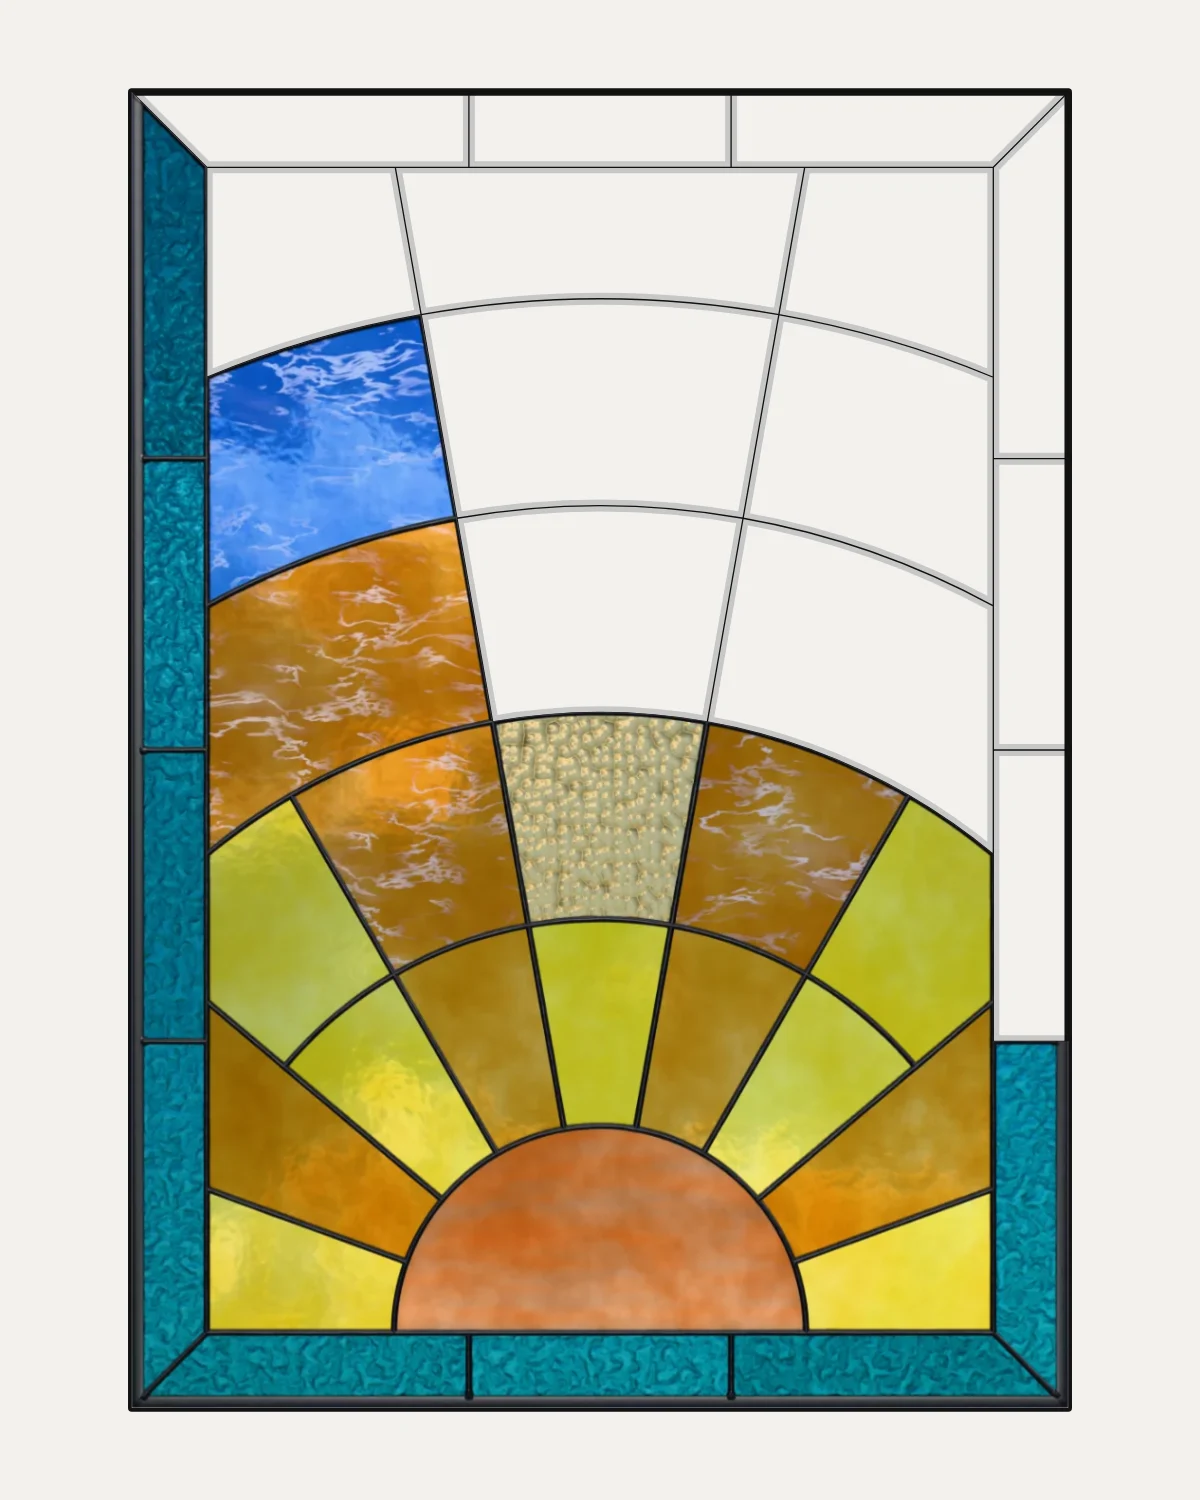
Chapter 3
Glass
Glazing pieces, the glass library, glass of your own and colourways.
4 lessons · 8 min · 0 done
-
14
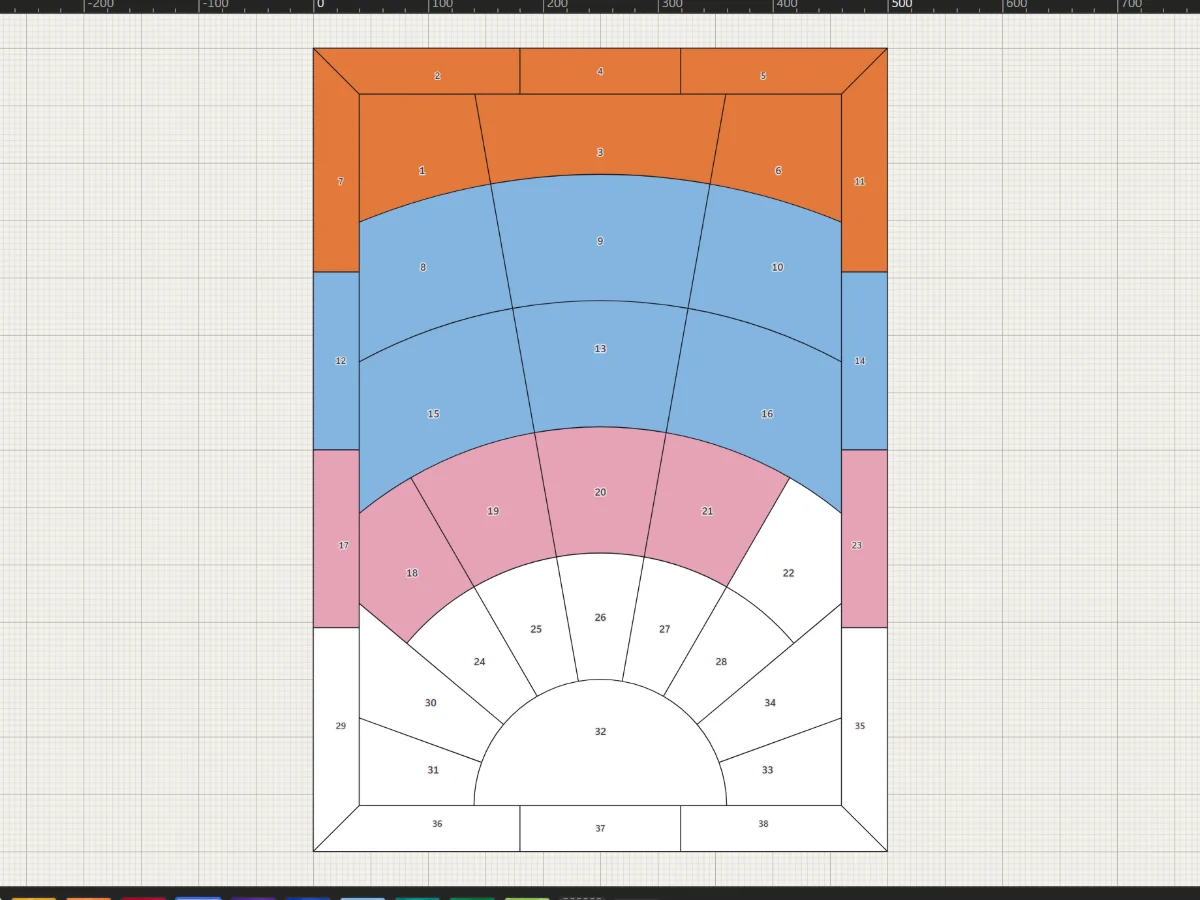 Glaze piecesPick a glass from the bar under the drawing and click pieces to colour them.
4 steps · 2 minTry it
Glaze piecesPick a glass from the bar under the drawing and click pieces to colour them.
4 steps · 2 minTry it
-
15
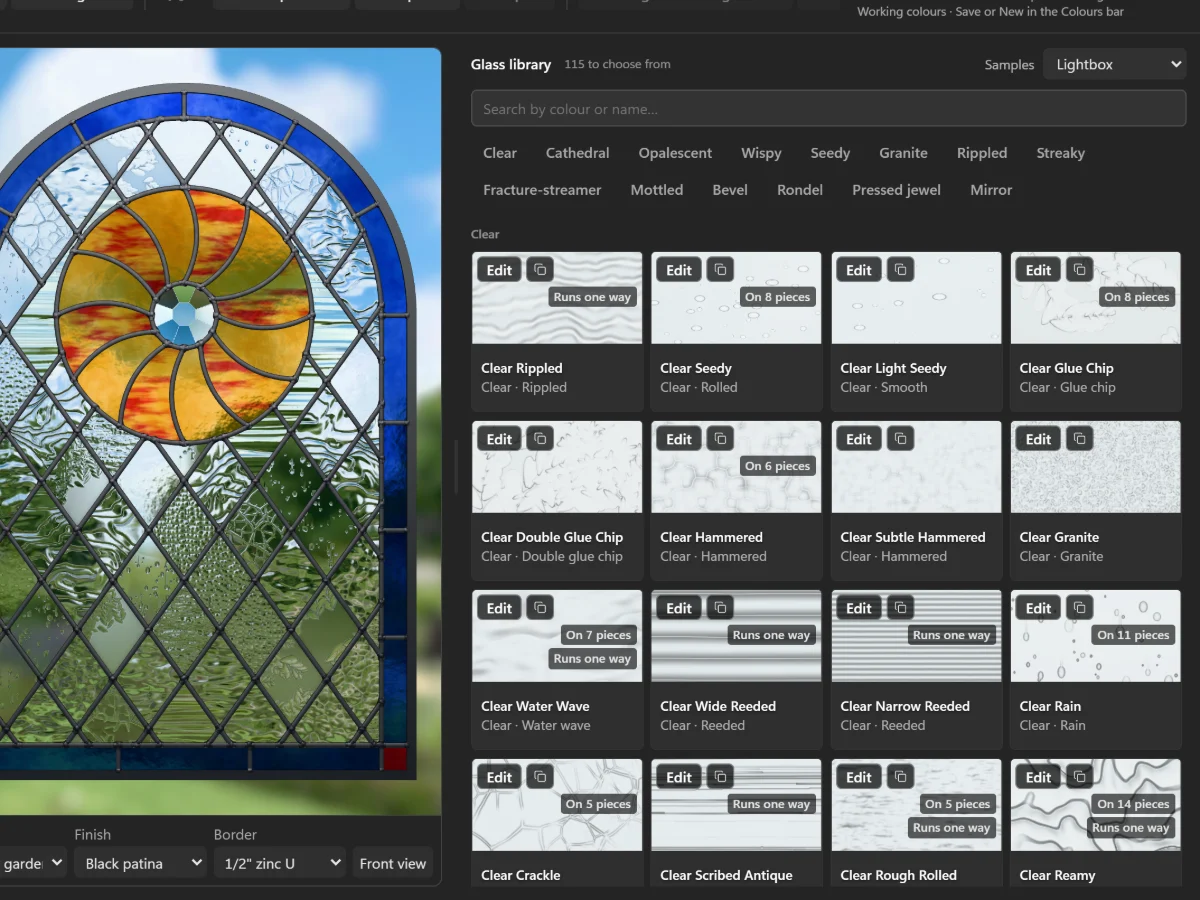 Choose from the glass libraryOver a hundred glasses, from clear textures to streaky, fracture-streamer and pressed jewels, seen in light.
5 steps · 2 min
Choose from the glass libraryOver a hundred glasses, from clear textures to streaky, fracture-streamer and pressed jewels, seen in light.
5 steps · 2 min
-
16
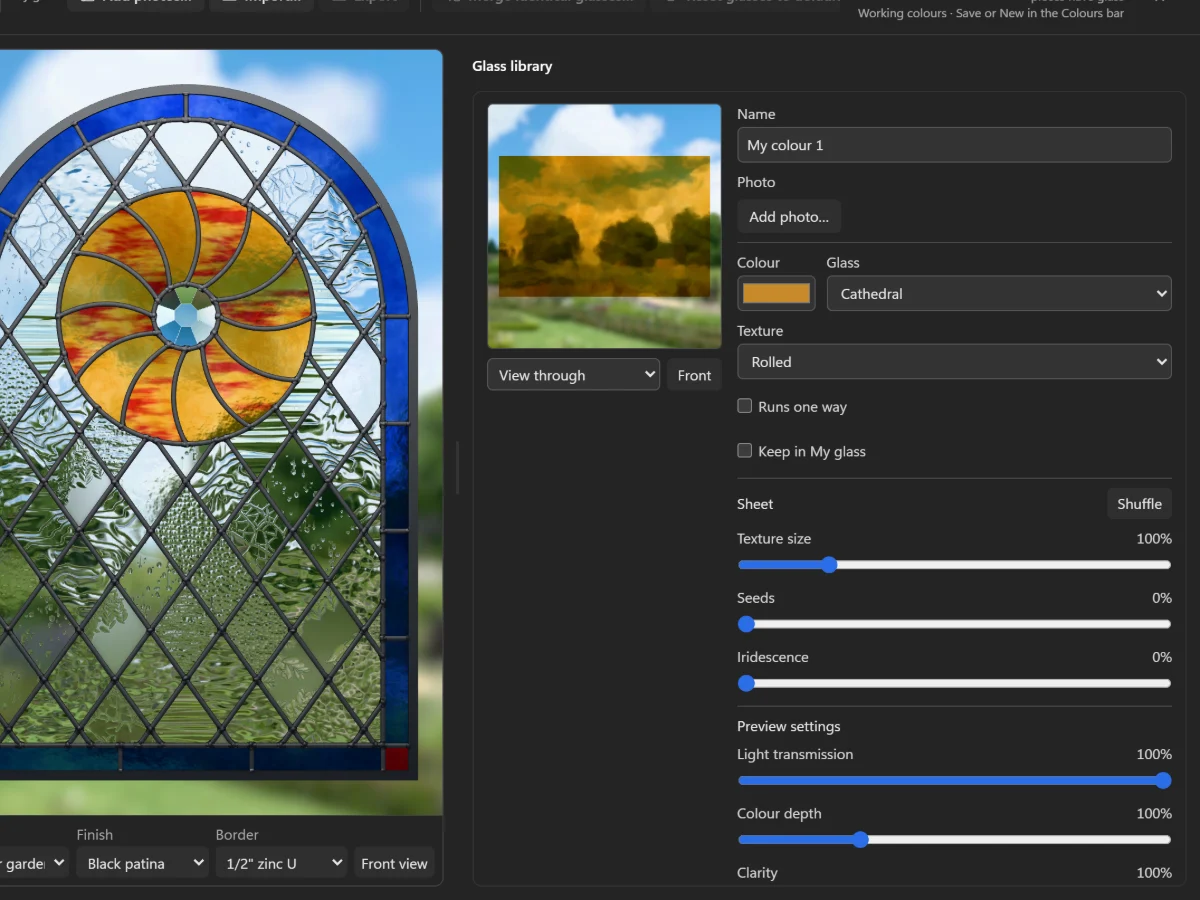 Make a glass of your ownMatch a sheet from your stash: its colour, texture and streaks, or a photo of the sheet itself.
4 steps · 2 min
Make a glass of your ownMatch a sheet from your stash: its colour, texture and streaks, or a photo of the sheet itself.
4 steps · 2 min
-
17
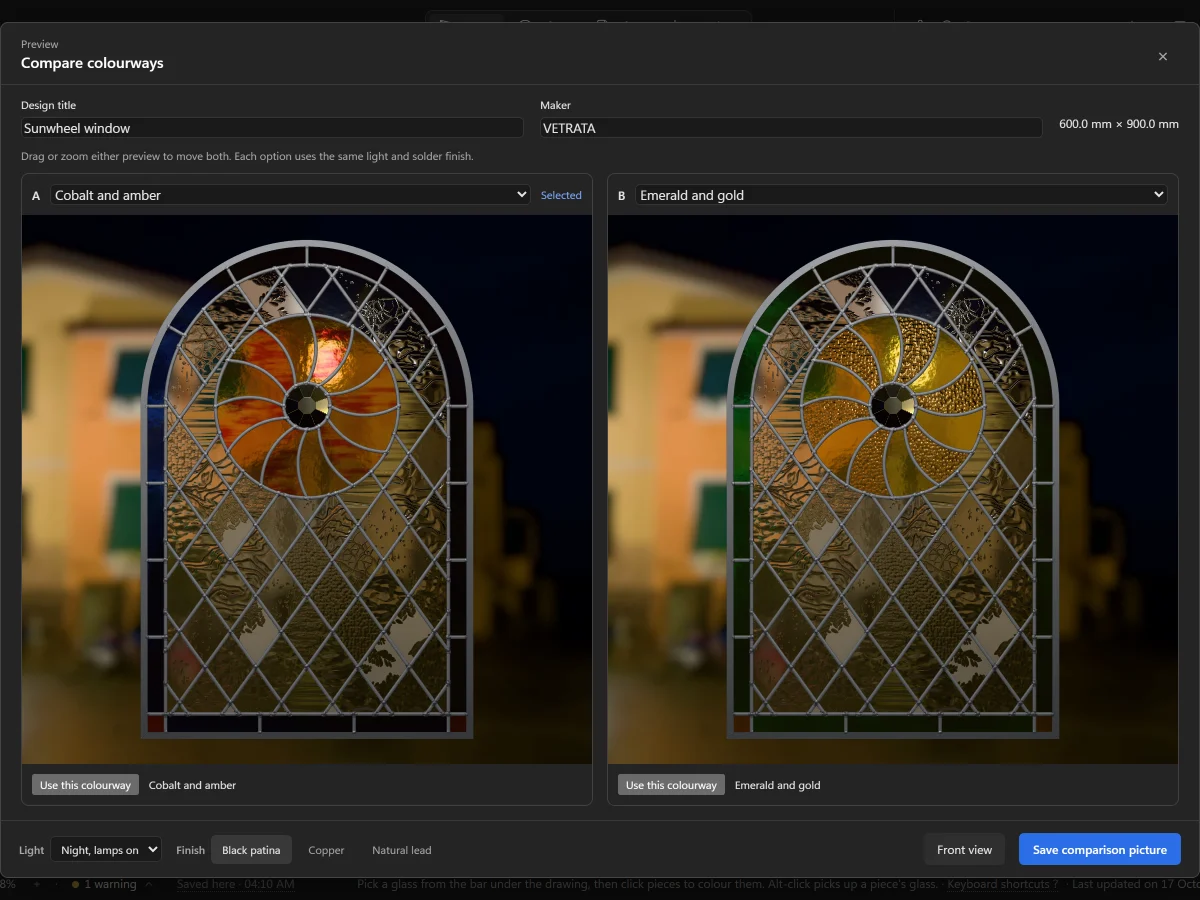 Keep colourways side by sideSave more than one choice of glass for a pattern, switch between them, and compare two in the same light.
4 steps · 2 min
Keep colourways side by sideSave more than one choice of glass for a pattern, switch between them, and compare two in the same light.
4 steps · 2 min
Chapter 4
Plan and print
The pattern plan, the cutting pattern true to scale, and files for cutting machines.
4 lessons · 8 min · 0 done
-
18
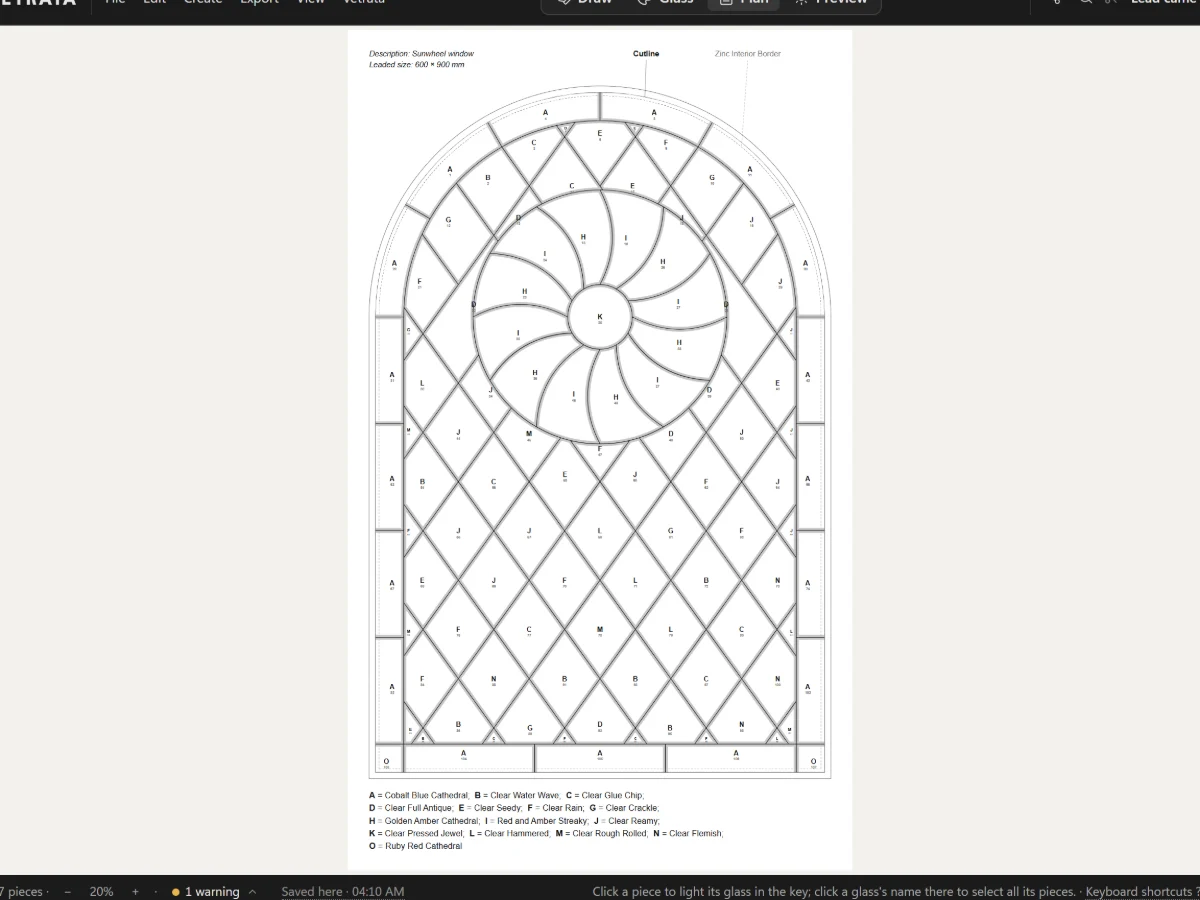 The pattern plan and its colour keyA numbered, lettered plan of the whole panel with its leads at their came's width, ready to print.
5 steps · 2 min
The pattern plan and its colour keyA numbered, lettered plan of the whole panel with its leads at their came's width, ready to print.
5 steps · 2 min
-
19
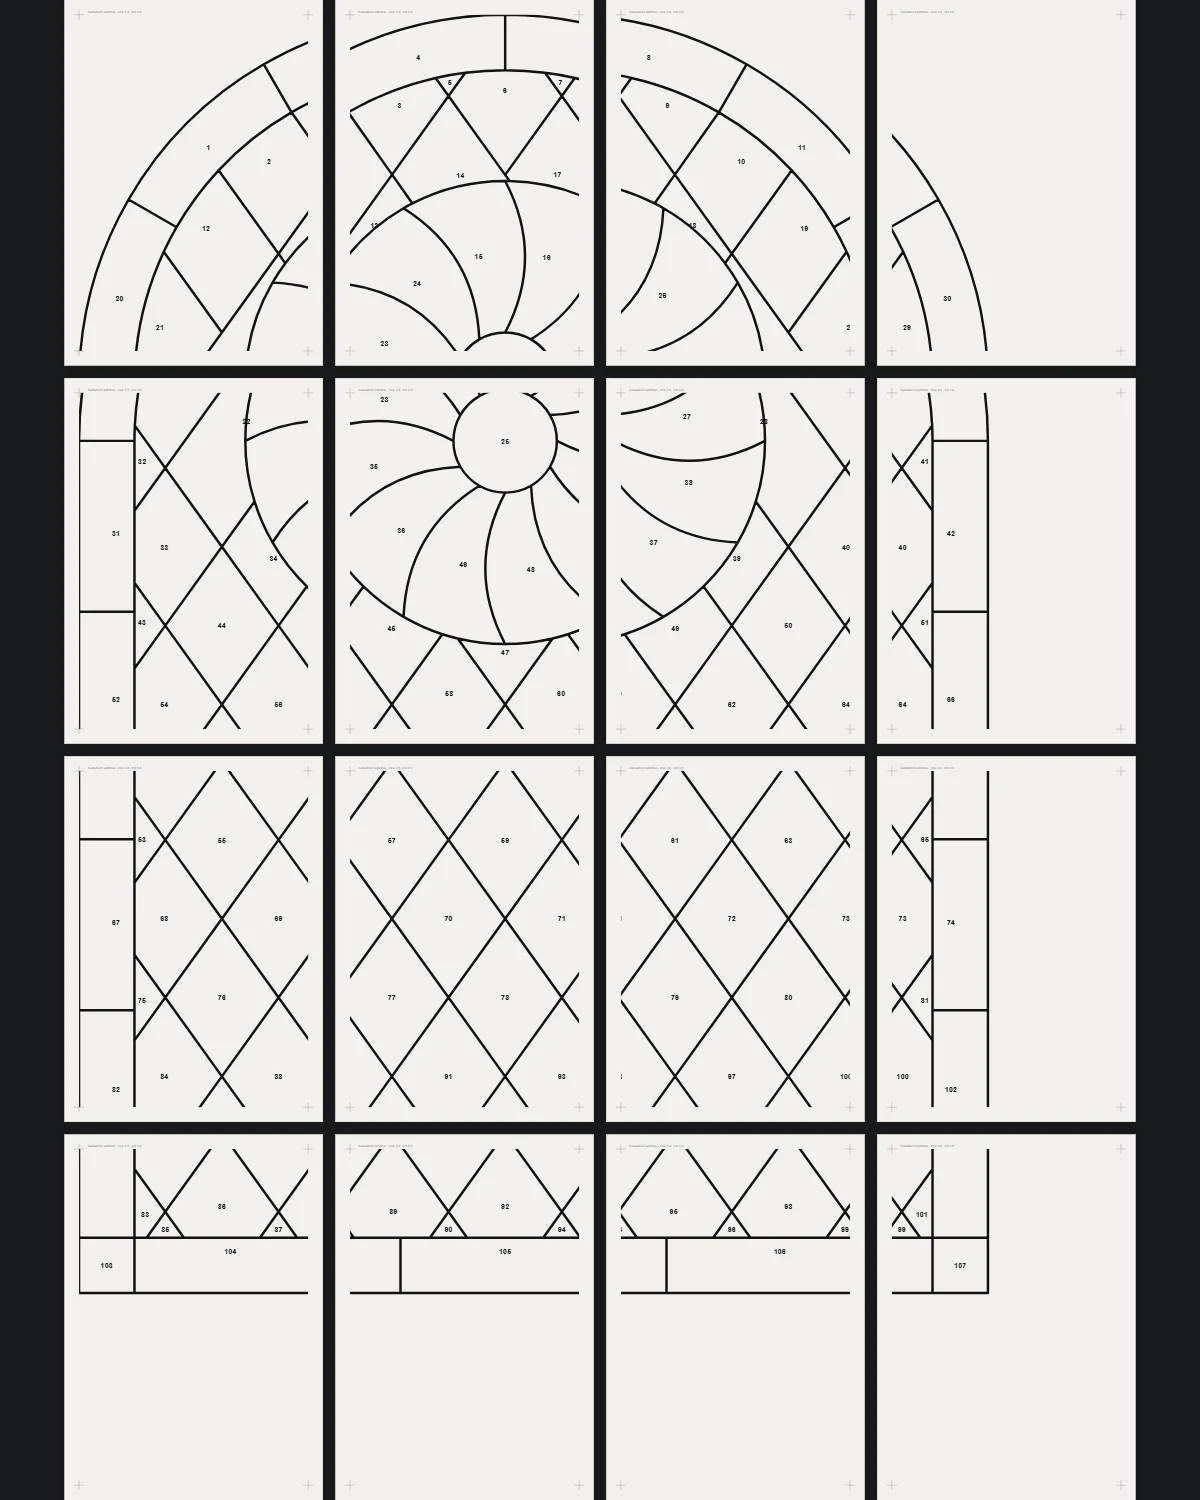
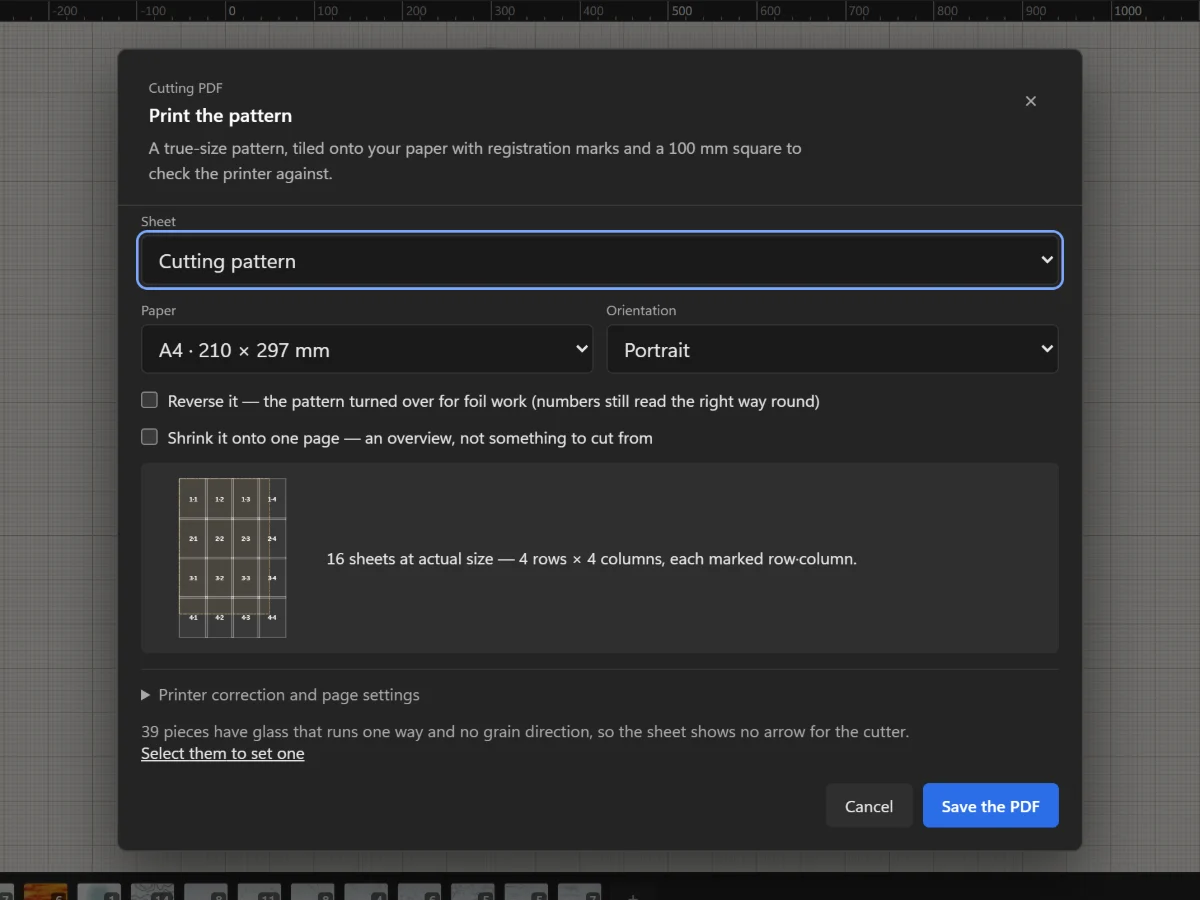 Print the cutting pattern true to scaleTile the full-size pattern onto A4 or Letter with registration marks and a square to check your printer.
5 steps · 2 min
Print the cutting pattern true to scaleTile the full-size pattern onto A4 or Letter with registration marks and a square to check your printer.
5 steps · 2 min
-
20
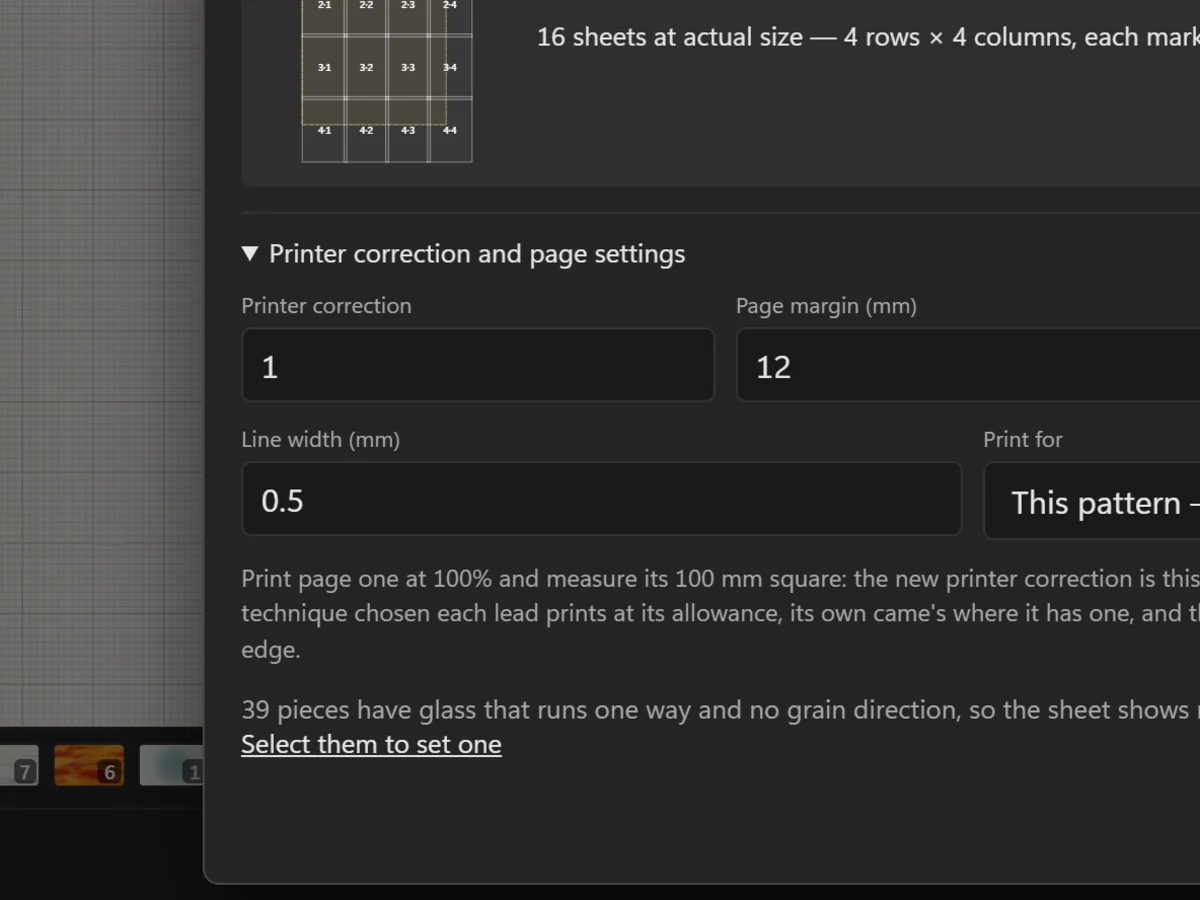 Check your printer with the 100 mm squareMeasure the square on page one, and correct a printer that prints a little large or small.
5 steps · 2 min
Check your printer with the 100 mm squareMeasure the square on page one, and correct a printer that prints a little large or small.
5 steps · 2 min
-
21
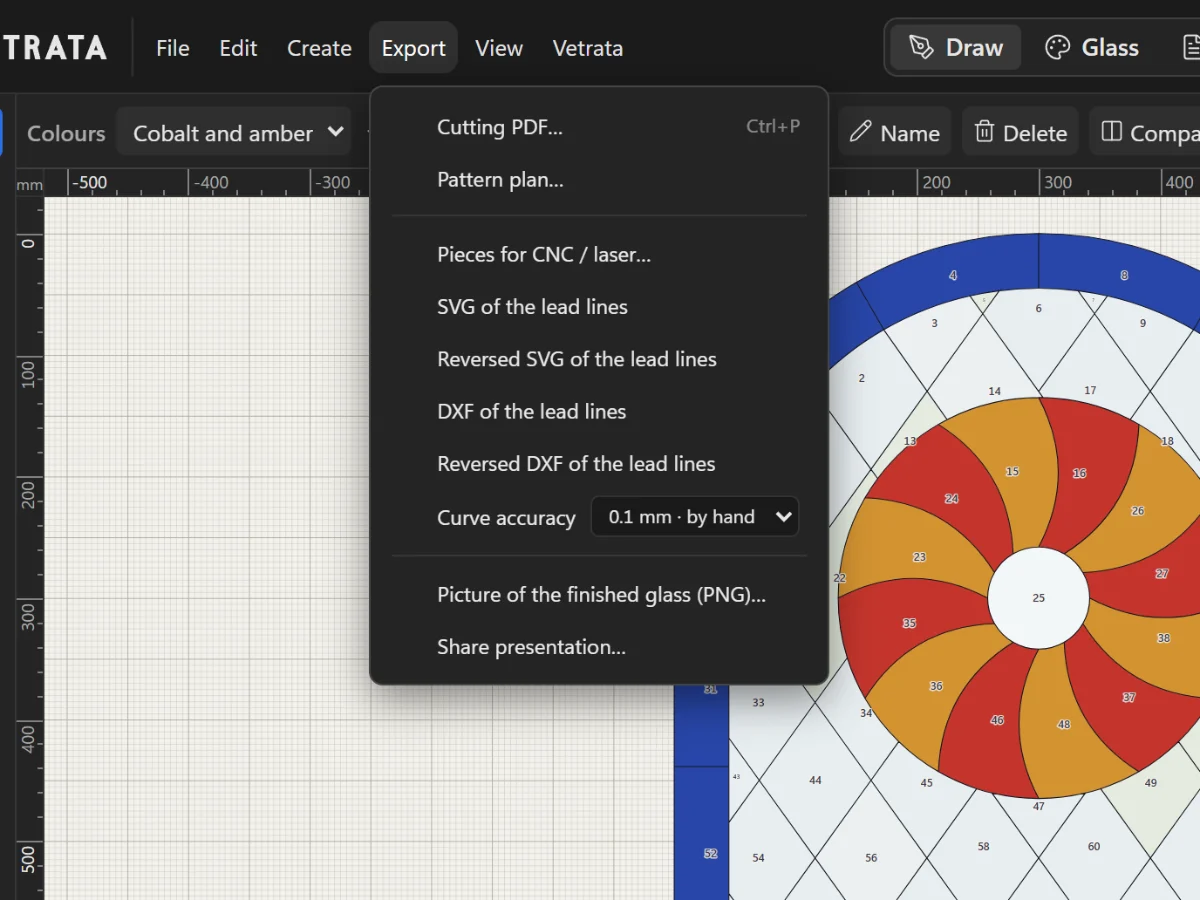 SVG, DXF and pieces for a CNC or laserExport the lead lines or every piece on its own for a cutting machine, a laser or another program.
3 steps · 2 min
SVG, DXF and pieces for a CNC or laserExport the lead lines or every piece on its own for a cutting machine, a laser or another program.
3 steps · 2 min
Chapter 5
Preview
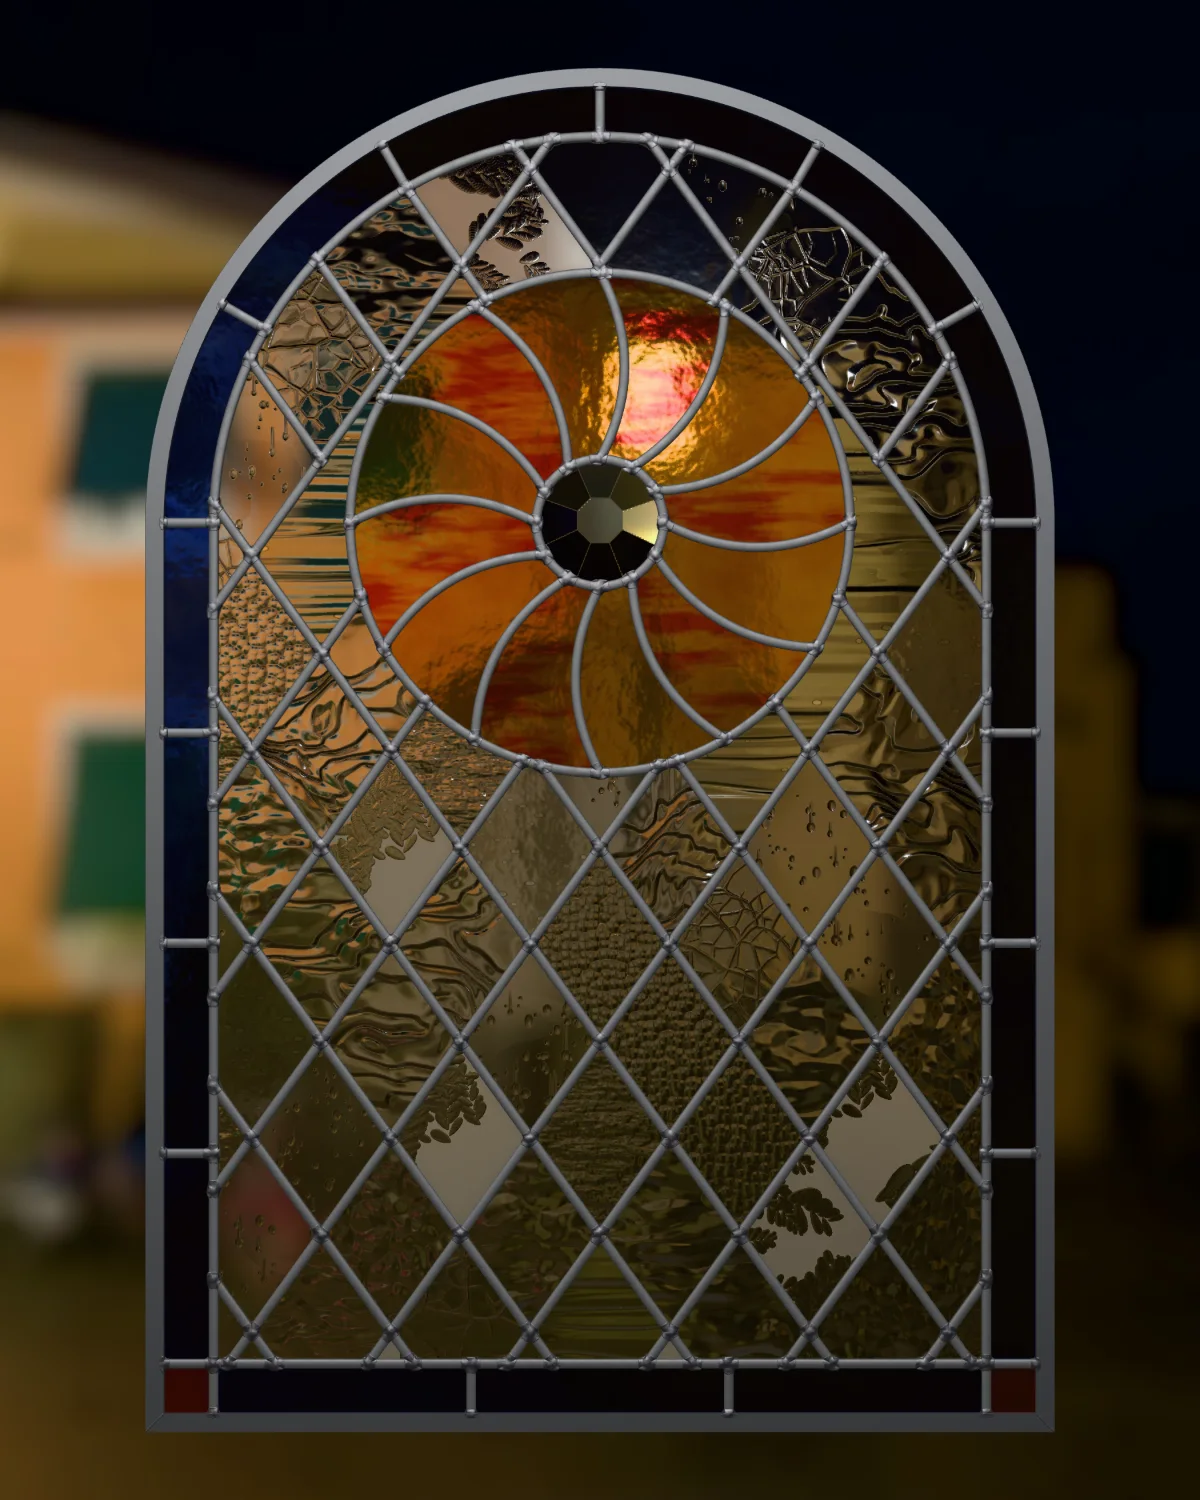
Your panel in light before you cut a piece, and pictures to share.
2 lessons · 4 min · 0 done