Lesson 19 of 23
Print the cutting pattern true to scale
Tile the full-size pattern onto A4 or Letter with registration marks and a square to check your printer.
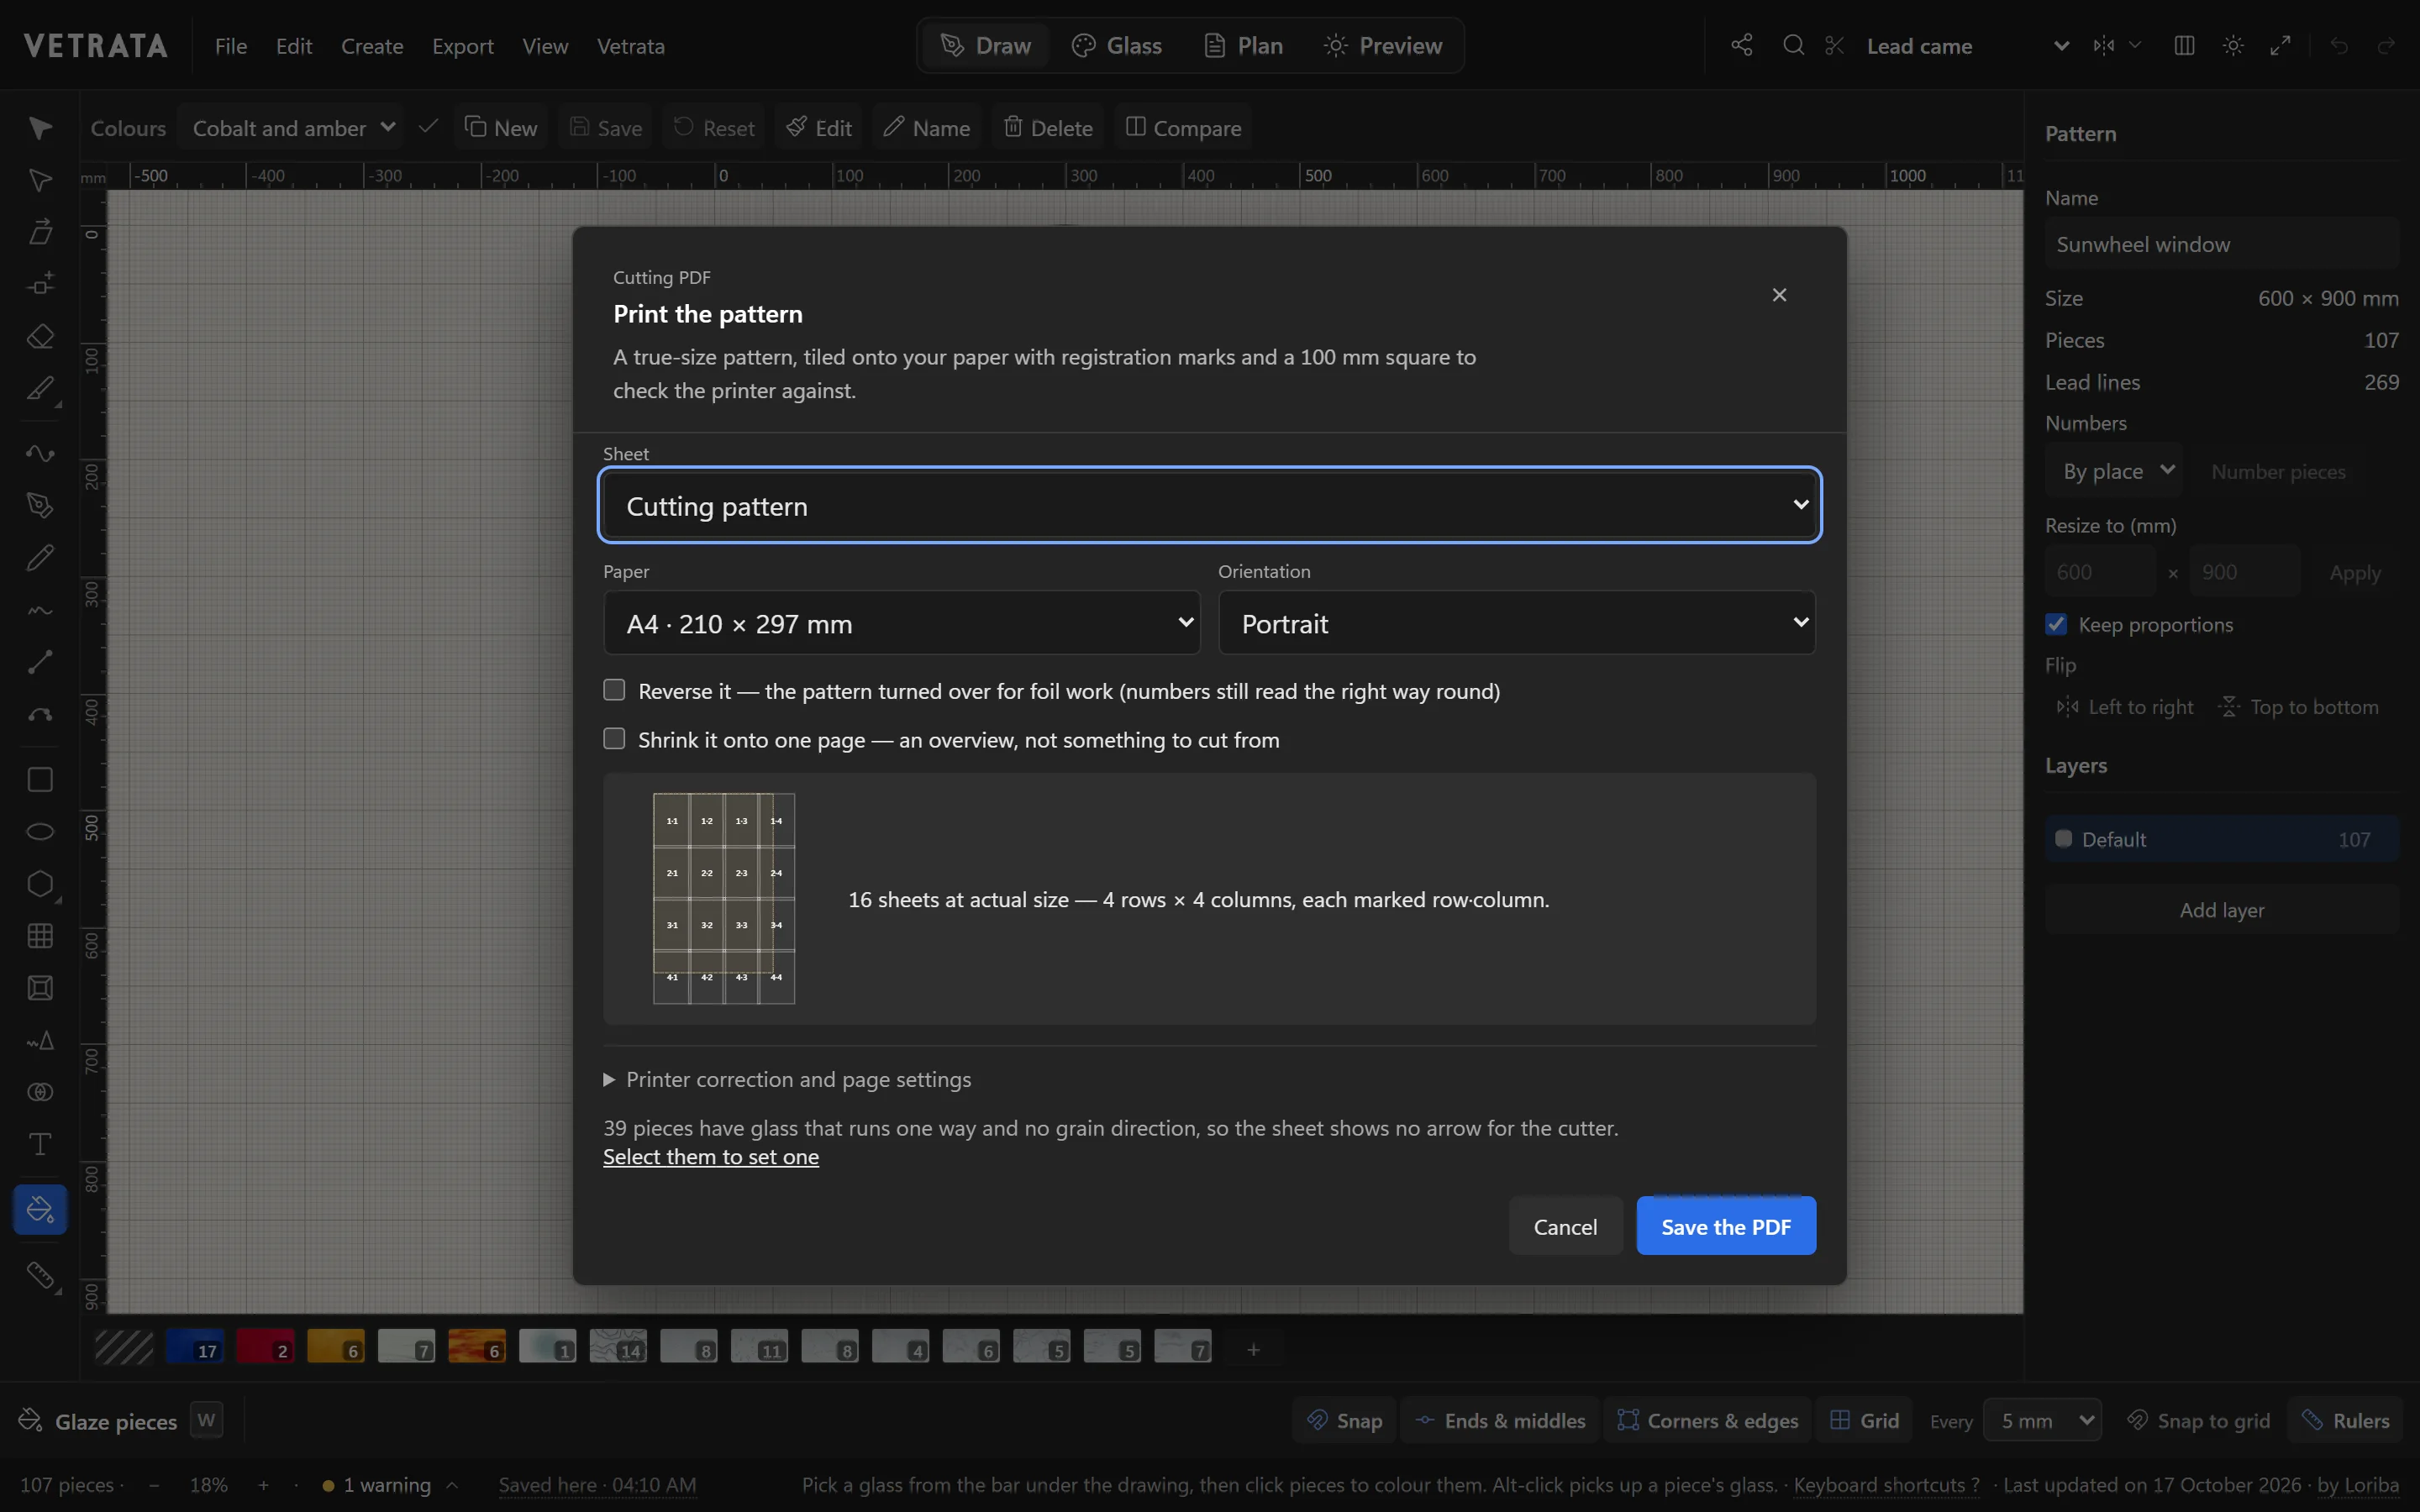
The cutting pattern is the pattern at full size, to cut your pattern pieces or your glass from. The Studio makes it as a PDF, tiled onto paper your printer takes.
-
1
Open Cutting PDF
Press CtrlP, or choose Export › Cutting PDF…. Under Sheet, choose Cutting pattern.
-
2
Choose the paper
Pick your paper, such as A4 or US Letter, or type a size, and the orientation.
The dialog shows how the pattern is tiled: how many sheets, in how many rows and columns, each marked with its row and column.
-
3
For copper foil, reverse it
Tick Reverse it to print the pattern turned over, for foil work. The numbers still read the right way round.
-
4
Save the PDF
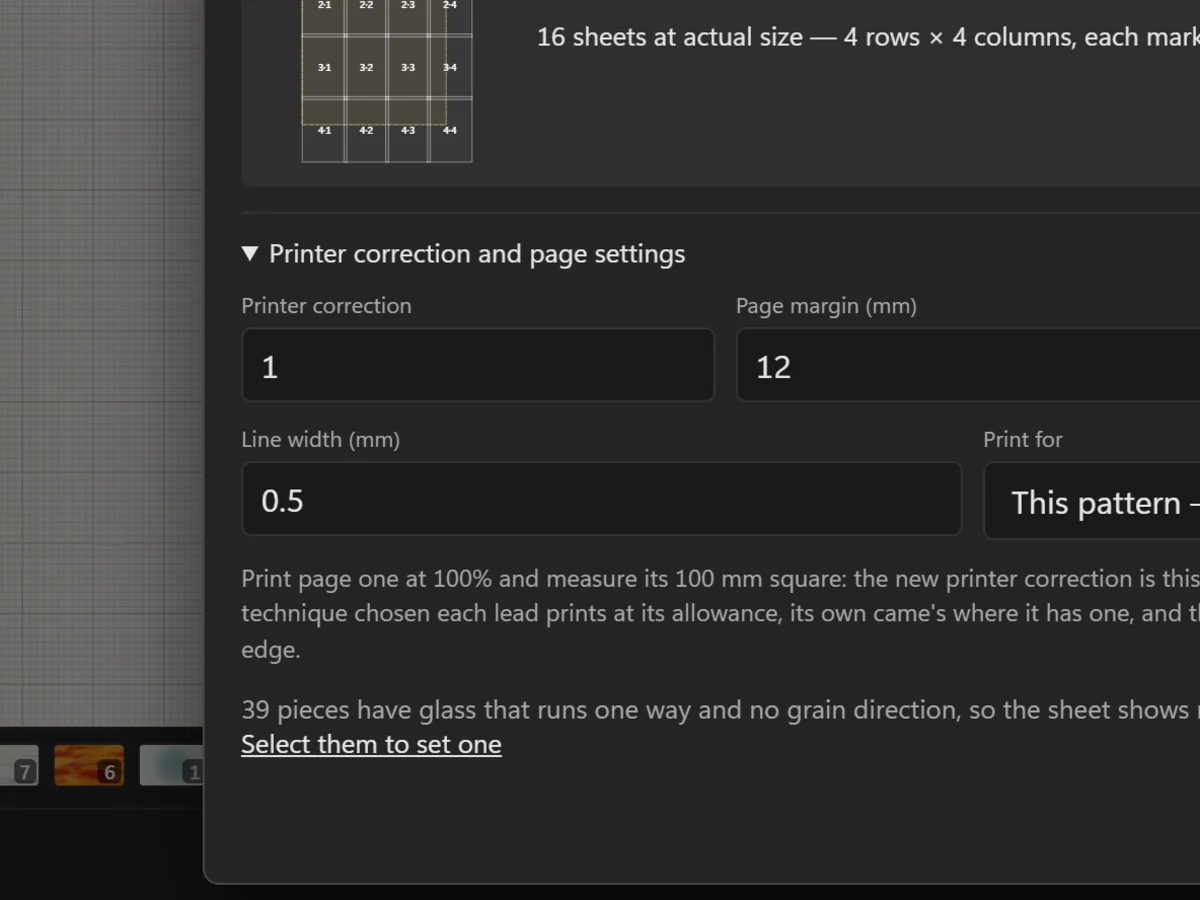
Click Save the PDF. Page one carries a 100 mm square to check your printer and the title block from Design details.
-
5
Print at actual size
Print from your PDF viewer at 100% or Actual size, never Fit to page. Measure the square before you cut anything.
Trim the sheets and tape them together by the registration marks.
Tip Want one sheet to look at? Tick Shrink it onto one page for an overview. It is not to cut from.
 The pattern plan and its colour key