Lesson 10 of 23
Trace a photo, sketch or scan
Put a picture under the pattern at its real size, fade it, and draw your leads over it by hand.
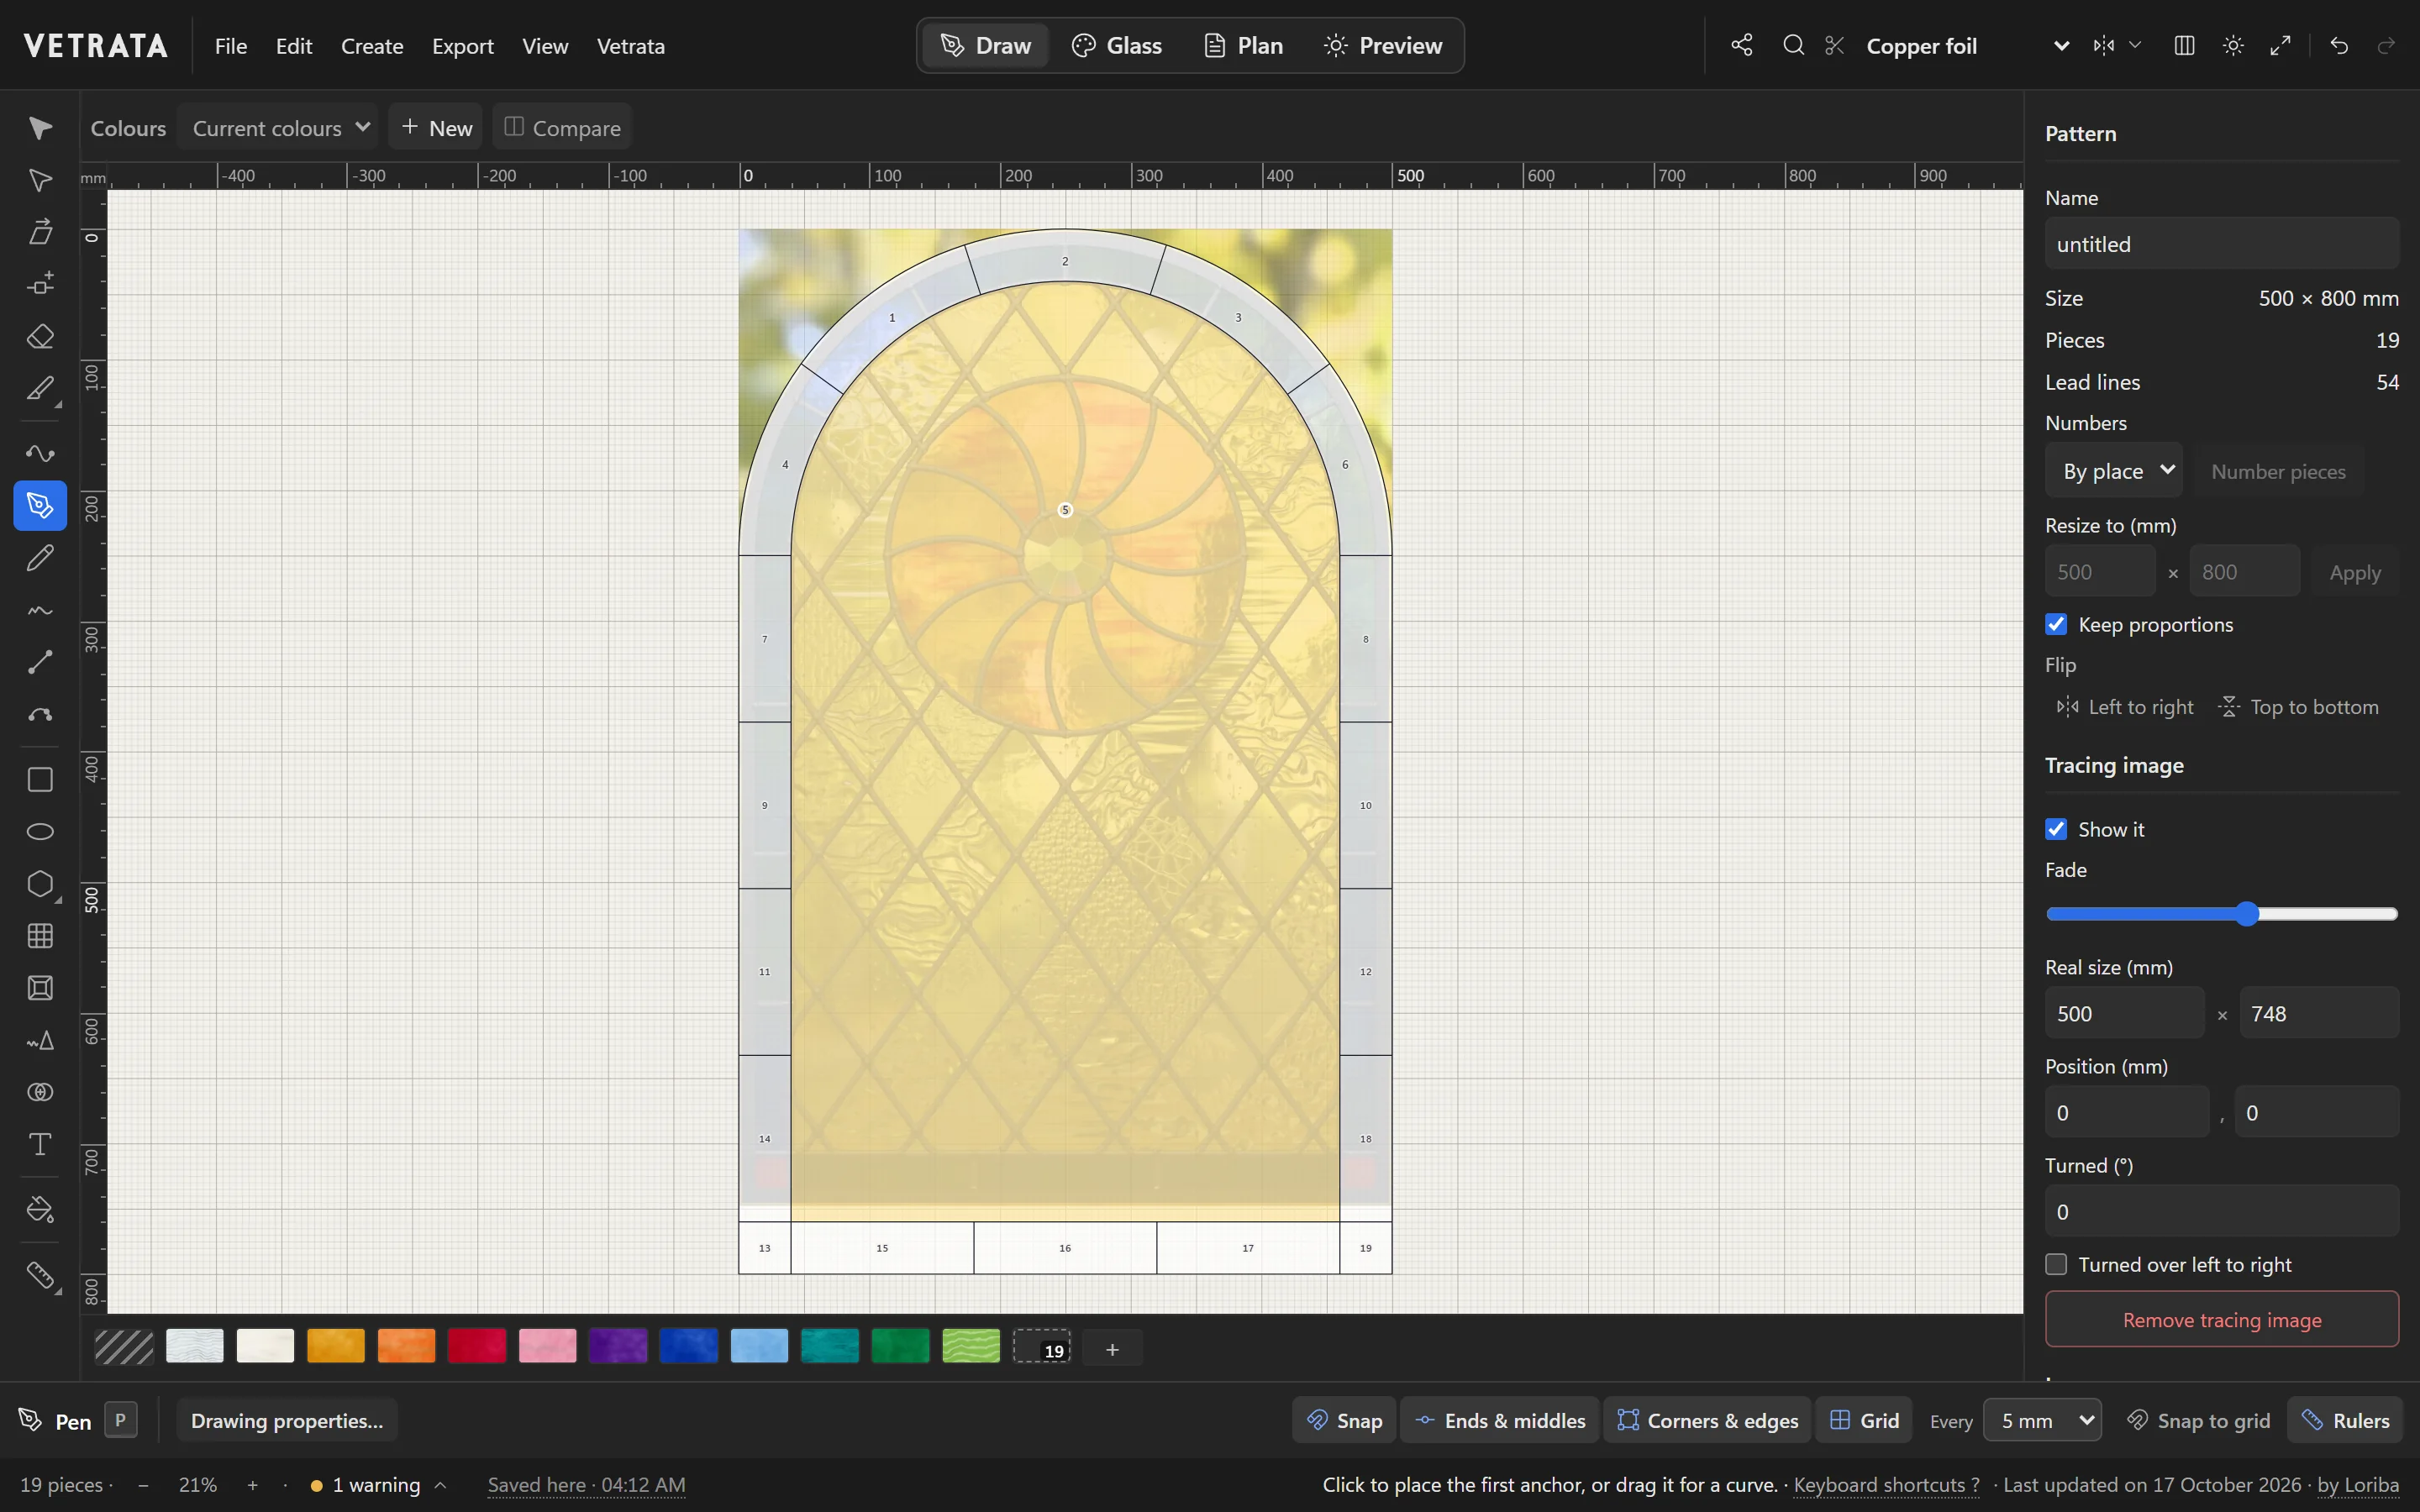
Start from a sketch, a photo of an old window or a scanned drawing. The picture sits under the pattern to draw over; it is never printed and never becomes part of the pattern.
-
1
Place the picture
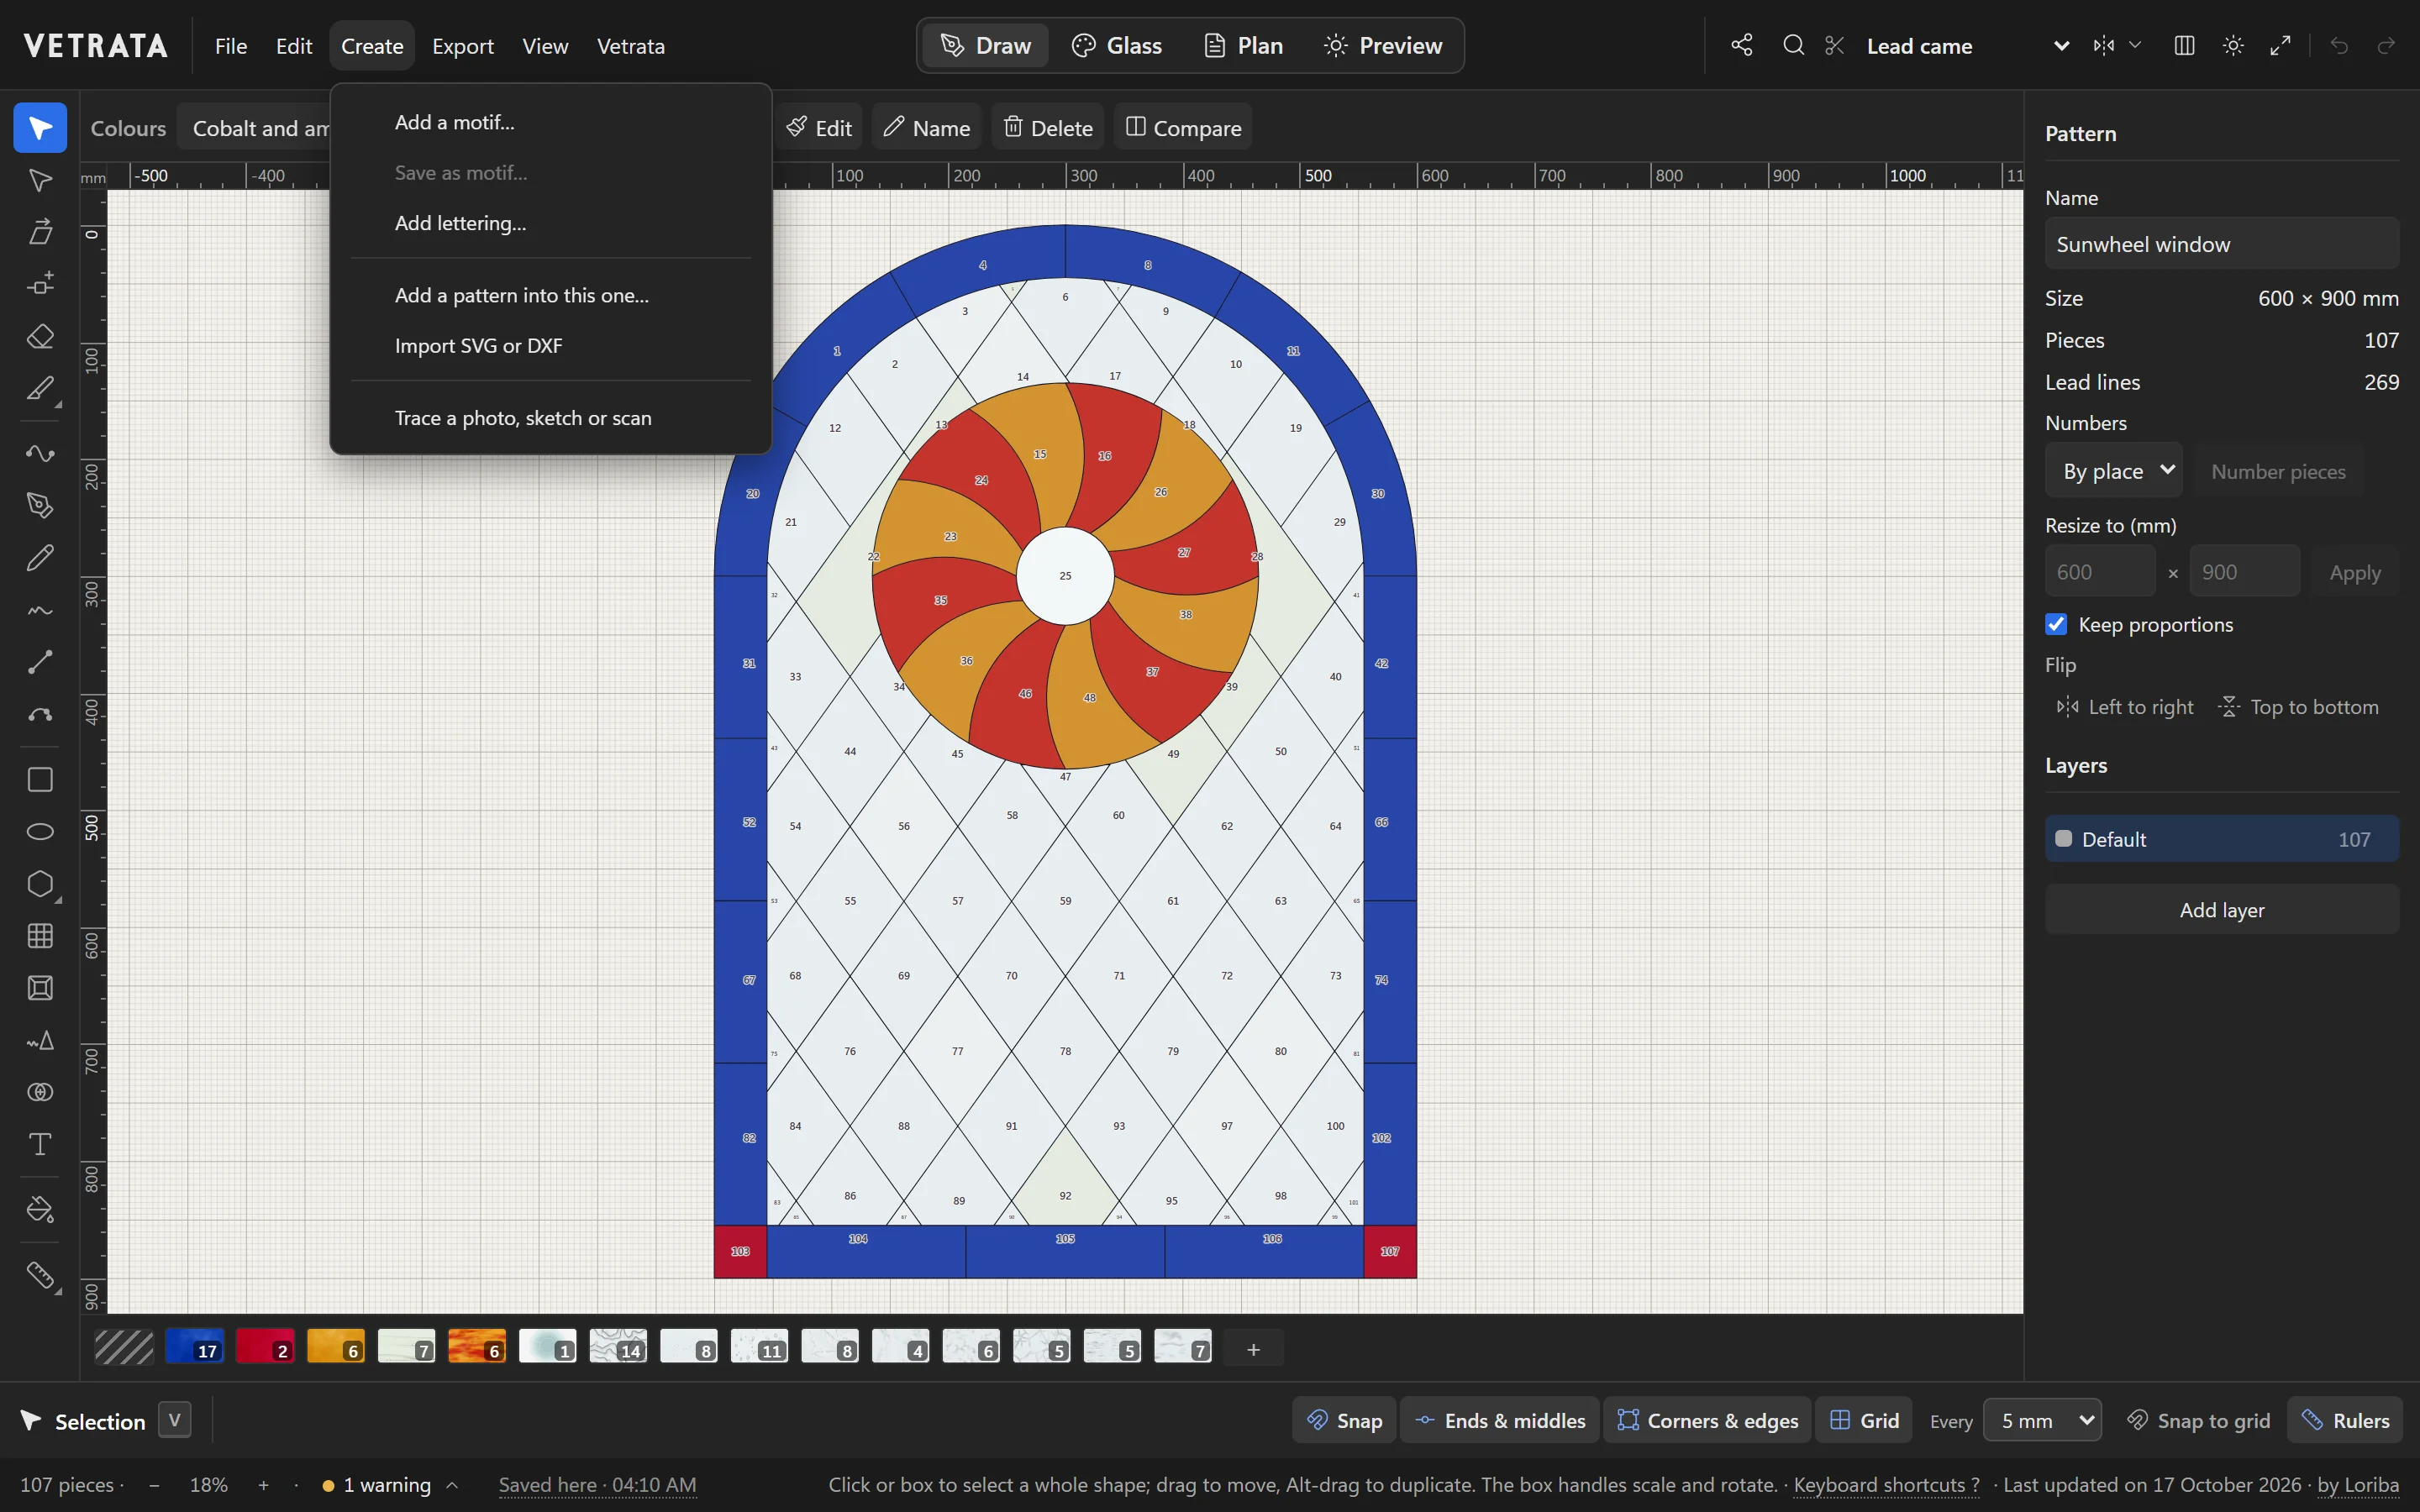
Choose Create › Trace a photo, sketch or scan and pick an image. It is placed under the pattern.
-
2
Give it its real size
In the Inspector, under Tracing image, type its Real size: the width and height the picture covers, in millimetres. Set its position, turn it, or turn it over left to right if it was drawn reversed.
Drawn over a picture at its real size, the pattern comes out at its real size too.
-
3
Fade it
Slide Fade until the picture is light enough for your leads to stand out over it.
-
4
Draw over it
Trace the lines that will be leads with the Curve, Pen or Line tools. Leave out what glass can't do: a stained glass pattern is simpler than the picture it comes from.
-
5
Check without it
Untick Show it now and then to see the pattern on its own. Remove tracing image takes it away for good when you are done.
Tip Keep a copy of the picture. A saved pattern file does not carry its tracing image.
 Draw it once with the Mirror
More in Draw
 Draw
Draw lead lines
Straight leads with the Line tool, curves with the Pen and Curve tools, and freehand strokes that come out clean.
5 steps · 2 min · Try it in the page
Draw
Draw lead lines
Straight leads with the Line tool, curves with the Pen and Curve tools, and freehand strokes that come out clean.
5 steps · 2 min · Try it in the page
 Draw
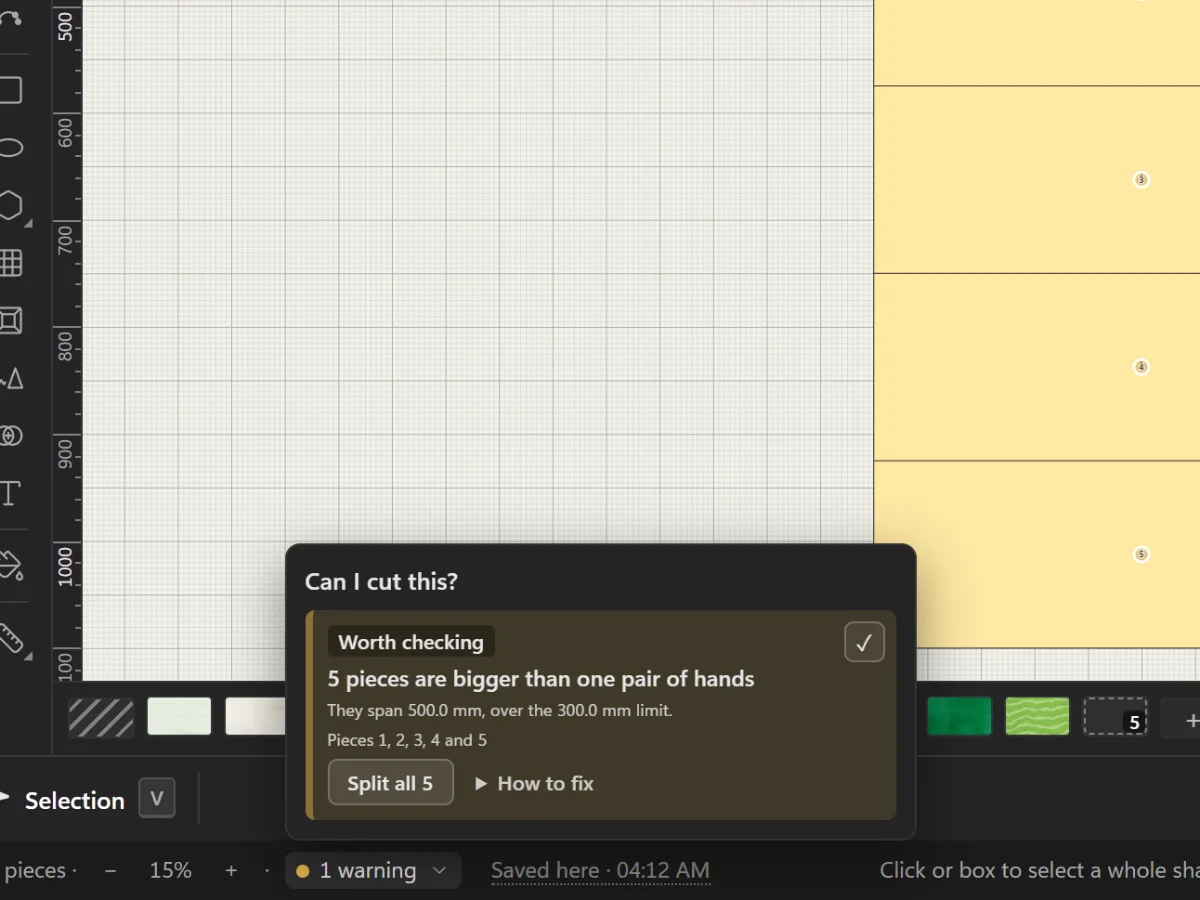
Check that the glass can be cut
Read the Studio's warnings about pieces glass won't take, and fix them with the button beside each one.
4 steps · 2 min · Try it in the page
Draw
Check that the glass can be cut
Read the Studio's warnings about pieces glass won't take, and fix them with the button beside each one.
4 steps · 2 min · Try it in the page
 Draw
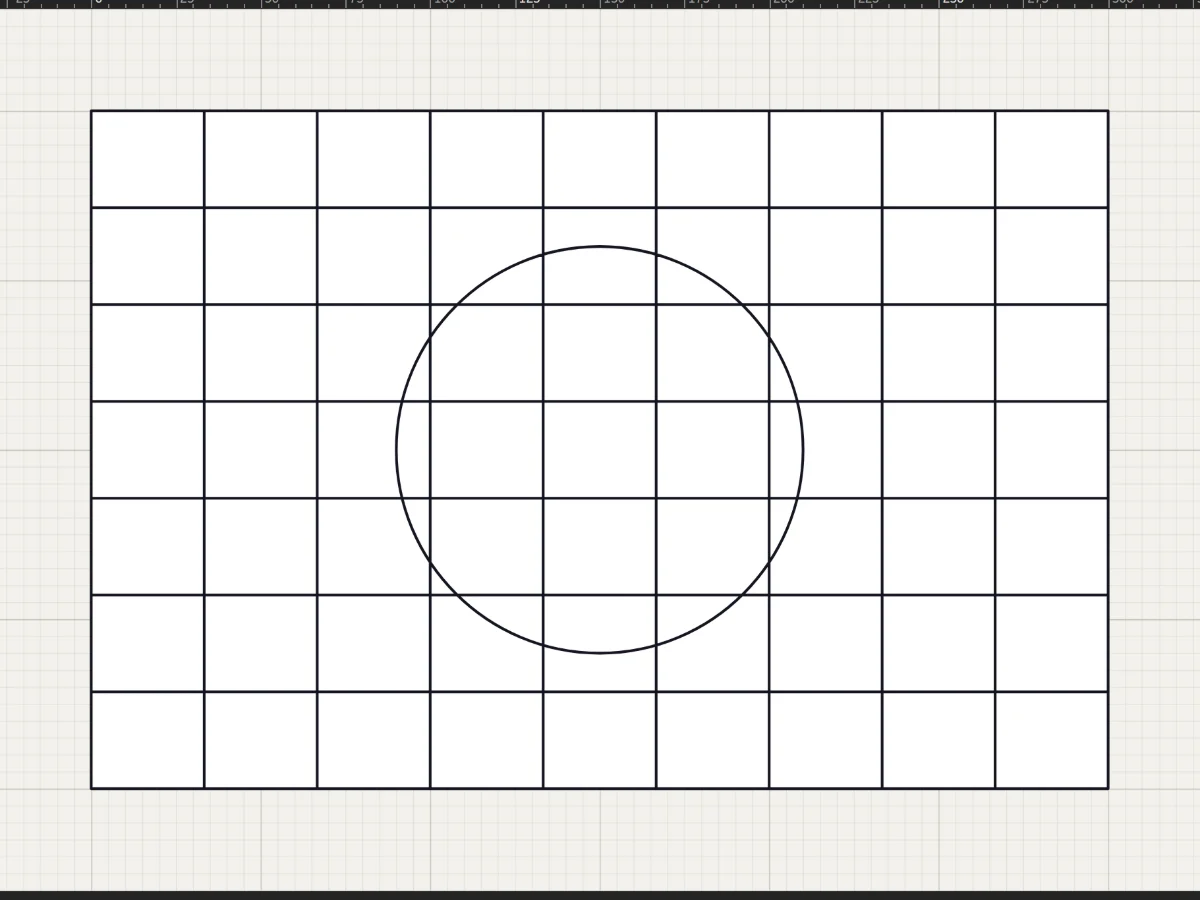
Shapes, grids and radial designs
Rectangles, circles, stars, rosettes and quarry grids in a few drags, each one cut into the leadwork.
5 steps · 2 min · Try it in the page
Draw
Shapes, grids and radial designs
Rectangles, circles, stars, rosettes and quarry grids in a few drags, each one cut into the leadwork.
5 steps · 2 min · Try it in the page